
How to Properly Wash Your Car Without Swirls or Water Spots
How to Properly Wash Your Car Without Swirls or Water Spots

It's peak wash season. Everybody wants their car dialed in for summer, so cars are getting washed more than any other time of year. Here's the problem: the wash is exactly where most paint damage happens. Not the road, not the sun, the wash itself.
Two things go wrong at the wash, and both are permanent if you let them. You drag grit across the paint and leave swirls and scratches. Or you let water dry on the surface and leave water spots. Summer makes the second one worse, because the heat flashes water and soap dry in seconds, so you have far less time to work before it spots.
The good news is that avoiding both comes down to the same thing: a smart process from start to finish. Everything matters here, the mitt you use, how you move it, and how you dry. Get the process right and your paint stays swirl free, spot free, and beaming. This is the exact method we use, whether your car is running a wax, a ceramic coating, a wrap, or no protection at all.
The Quick Version
- Wheels and tires first. They are the dirtiest and slowest, so knock them out before you touch the paint.
- Stay out of the sun. Work cool panels in the shade, especially if you are on hard water.
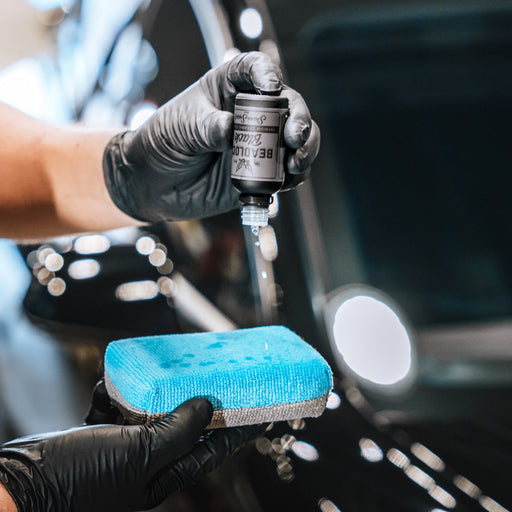
- Pre-rinse, then pre-treat bugs. Rinse off the loose grit, then hit heavy bug areas with Bug Off.
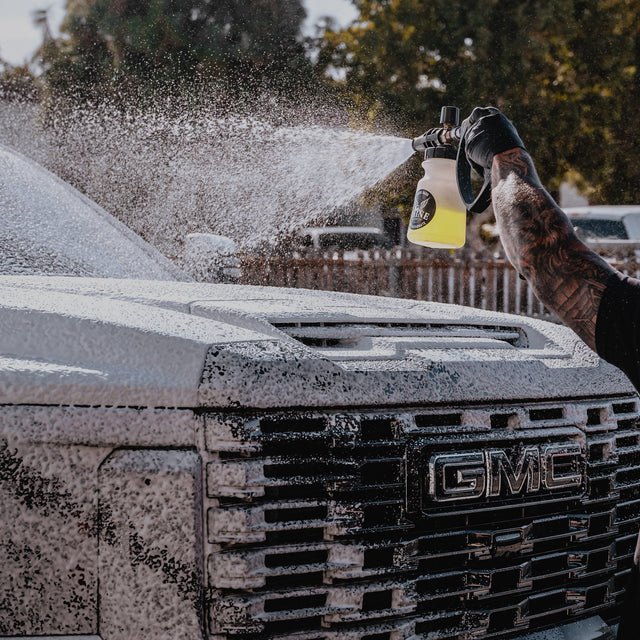
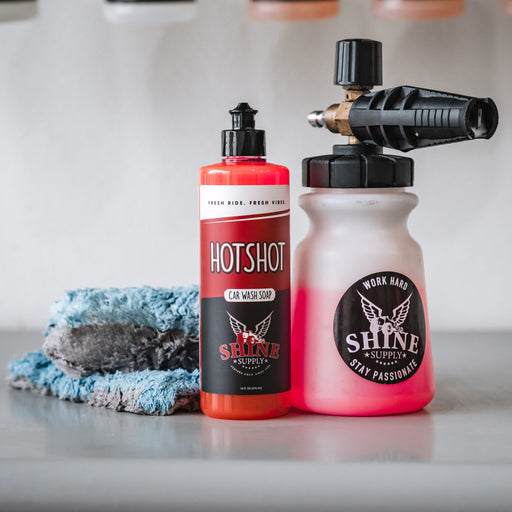
- Foam it. A thick layer of foam soaks and lubricates so there is less grit to drag.
- Two-bucket wash. Flat Out up top, Block Party down low, straight lines, never circles.
- Rinse and dry. Blow out the cracks and crevices and dry with a quality towel. Hard water: dry efficiently, bulk dry, blow the crevices, then use Aftermath to clear any spots from the wash.
- Finish up. Tires, then wheels, then paint, and glass last.
Prefer to Watch?
We filmed the whole wash start to finish. Hit play below, or keep reading for the full breakdown.
Why Washing Is Where the Damage Happens
Two kinds of damage start at the wash, and both are the kind you pay to undo later. Understand them and you understand why every step of the process matters.
Swirls and Scratches
Swirl marks are thousands of tiny scratches in your clear coat, and every one is grit being dragged across the paint. It happens two ways: an automatic tunnel wash with brushes that have scrubbed hundreds of dirty cars before yours, or a home wash where dirt gets picked up and rubbed right back in. And it is not only the wash step. Scrubbing with the wrong mitt, running one dirty mitt over the whole car, or dragging a rough towel while you dry all put scratches in too. Every part of the process either protects your paint or damages it.
Water Spots
Water spots are the other half, and summer is when they bite. They are the minerals left behind when water dries on the paint instead of getting wiped off. Let them sit on a hot panel and they can etch into the clear coat and become permanent. The heat is the enemy here: it flashes water and soap dry in seconds, so a car left to air dry in the driveway will spot before you have even put the hose away.
Once paint is swirled or spotted, there is no easy fix. You are looking at a machine paint correction that runs hundreds of dollars to cut it back out. That is why everything from here is built around prevention.
What You Need
A safe wash comes down to your gear. You do not need a garage full of tools, you need the right few things: two buckets with grit guards, the right wash media, a quality soap, and something to dry with. Here is how we set up.

Two Buckets, Always
One bucket holds your soap. The second holds clean rinse water. After you wash a section, you rinse your dirty mitt in the rinse bucket before you reload it with soap. That way the grit drops to the bottom instead of going back onto your paint. Add a grit guard to the bottom of each bucket so the dirt stays down where it belongs. This one habit prevents more swirls than anything else you can do.
The Right Soap for Your Paint
Match the soap to what your car is wearing. Here's the quick version:


That's the short version. For the full breakdown, check out our guide on how to choose the right soap for your vehicle. This guide is about the wash itself, so let's get into it.
A Foam Cannon Helps
A foam cannon is not required, but it earns its spot. That thick layer of foam does more than one job: it soaks and lifts loose dirt before your mitt ever touches the paint, it lubricates the surface so there is less friction dragging on your clear coat, and it keeps rich suds sitting on the paint longer than soap straight from the bucket. Less friction and more lubrication means fewer swirls. Our Foam Thrower is the one we run, and for the full rundown on foam, we covered it in how to use a foam cannon the right way.
The Two Bucket System We Use
This is the heart of a swirl-free wash, and it is where our method is a little different. We do not use one mitt for the whole car. We use two different pieces of wash media on purpose, because the top of your car and the bottom of your car are not the same level of dirty.
Flat Out for the Uppers
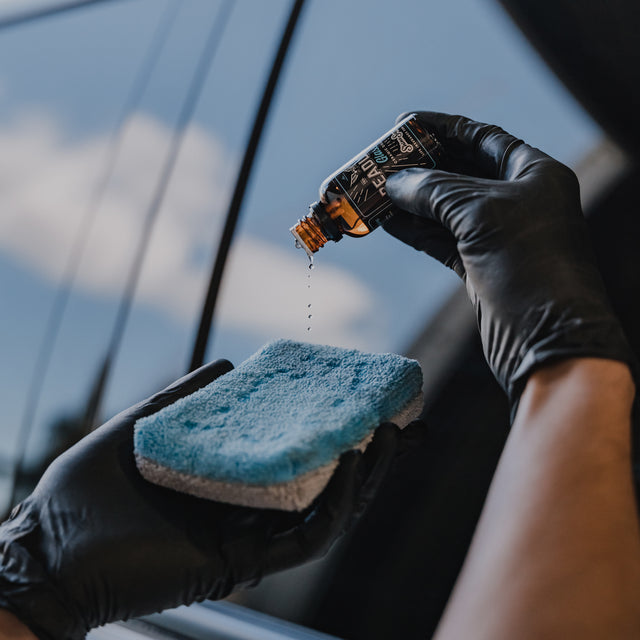
The Flat Out wash pads handle the upper sections, the roof, glass, hood, and upper doors. They come in a four pack and they are double sided on purpose. Here is how we run them: use one side to wash a panel, flip to the clean side for the next panel, then drop that pad in your rinse bucket and grab a fresh one from the pack. Work through all four the same way, one panel per side. When you run out, rinse the used pads in your rinse bucket, drop them back in the soapy wash bucket, and keep going. You are always washing with a clean face, never grinding dirt back into the paint.

FLAT OUT Wash Pad 4-Pack
Double-sided wash pads for the upper panels. Four in a pack so you always have a clean face ready.
Shop Flat Out →
Block Party for the Lowers
The lower sections, the rockers, lower doors, and bumpers, are where the heavy, gritty debris loads up. You never want to drag that up onto your clean upper panels. So the lowers get their own dedicated piece of media: the Block Party wash block. Keeping a separate block for the bottom is the whole point. The nasty stuff stays down low and never touches your good paint.

BLOCK PARTY Wash Block
Built for the bottom sections of the vehicle, where the heavy debris lives. Keep it dedicated to the lowers.
Shop Block Party →
Two Extras Worth Having
Not required, but these two make the job cleaner and both live in our wash kit. The Finisher is a soft brush for badges, emblems, grilles, and the tight spots your pad cannot reach. And a bug scrubber pad is what you want for any stubborn bugs, more on how we use it in the steps below.


The Right Way, Step by Step
Wheels and Tires First
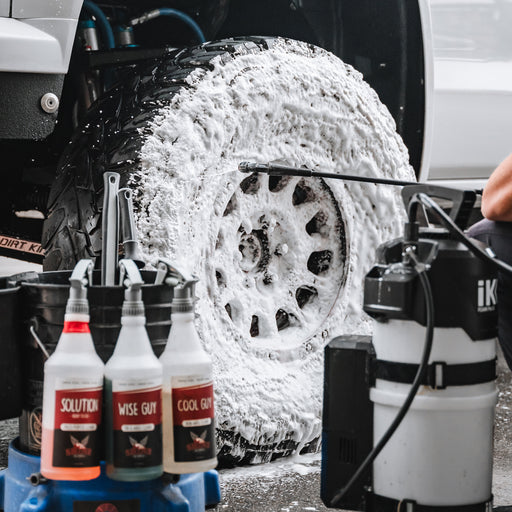
Always start with the wheels and tires. They are the dirtiest part of the car and they take the longest, so you knock them out before your wash water is dirty and before you have to worry about splashing dirty wheel cleaner onto clean paint. If you want the full rundown on doing wheels right, we covered it in our guide on cleaning your wheels and tires.
Get Out of the Sun
How much this matters depends on your water. If you are washing with hard tap water, staying out of the sun is a must. A hot panel flashes the water dry before you can wipe it, and every drop that dries leaves a mineral spot. Work on cool panels in the shade whenever you can.
If you are running DI (deionized) water, you have more room to breathe. Your rinse water has no minerals in it, so even if a panel dries on its own, it dries clean with nothing left behind. Shade still makes the job easier, but spotting is not the threat it is with hard water.
Pre-Rinse
Rinse the whole car down first to knock off all the loose dirt before anything touches the paint. The less grit sitting on the surface when you start, the less there is to drag around.
Pre-Treat the Bugs
Summer means bugs, and they will not come off with a normal wash pass. Here is how I handle them: right after the pre-rinse, if the car is loaded with bugs, spray Bug Off directly on those areas. Then foam or soap right over the top of it in the next step. Letting the Bug Off and the foam sit together softens the bug matter while you work, so it wipes off easily during the wash instead of getting scrubbed at. For a deeper dive, here is how to remove bugs from car paint.
Foam It
Lay down a thick layer of foam over the whole car, right over those Bug Off areas, and let it soak. This lifts and softens the dirt so your wash media has less to fight, and it gives the Bug Off time to do its thing. Optional, but it makes the wash safer.
Wash Top to Bottom
Now the two bucket system. Start up top with your Flat Out pads and work down, one panel at a time, in straight lines, never circles. Rinse your media in the rinse bucket before every reload. When you get to the lower sections, switch to your Block Party block so you never bring that heavy grit up onto clean paint. Cleanest areas first, dirtiest last.
When you reach the bug spots you pre-treated, work them with your bug scrubber pad. It is built to grab bug matter and tar while staying safe on your clear coat. Hit those areas, then carry on with your Flat Out and Block Party for the rest.

Rinse Clean
Rinse the whole car thoroughly and get all the soap off. Leftover soap dries into streaks, and any grit left sitting is grit waiting to get dragged when you dry.
Dry It the Right Way
Drying is not an afterthought, it is where a lot of both spots and scratches happen. How you dry depends on your water, so here are the two ways we run it.
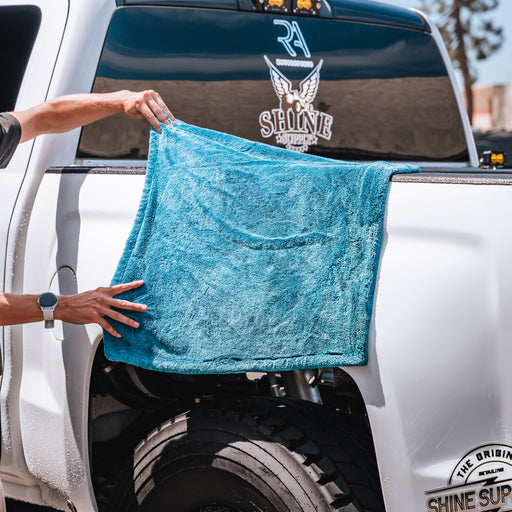
Hard water: get the water off fast. Start with a bulk dry, pulling most of the water off with a quality drying towel. Then blow out all the cracks and crevices with an air blower or compressed air to push out the water hiding in seams, mirrors, and trim before it can seep out and spot. We do not sell an air blower, but we run a Metro blower and really like it, and a leaf blower works too if that is all you have. Finally, on your cleanup pass, mist on Aftermath and wipe. It is a water spot remover and detail spray in one, so it breaks down any fresh spots that formed during the wash and finishes the paint clean with no residue. Not required, but for hard water it is highly recommended.
DI (deionized) water: keep it simple. Rinse the car, blow out the cracks and crevices with your air blower, then dry with a quality drying towel. You can skip the bulk-dry step, since your water leaves nothing behind even if it dries on its own.
No air blower? No problem. Dry the whole car with your towel, then watch the seams, water hides in there and creeps out after you have dried, and that trapped water is what spots. On your final wipe, mop up anything that has crept out. If you are on hard water, do that final wipe with Aftermath so anything left behind gets broken down instead of drying into a spot.
One rule for everyone on hard water: never let the car air dry. That is exactly how you bake water spots into the clear coat.

The Finishing Touches
The car is clean and dry. Here is the order I run to finish it off, and the order matters so you are never redoing work.
Tires first. Dress the tires with Decked Out. Doing this before you touch the wheels is on purpose: any overspray or sling that lands on the wheels gets wiped away in the next step instead of after you have already cleaned them. If you want the full tire process, we broke it down in how to apply Decked Out for the best tire finish.
Then the wheels. Wipe the wheels down with a detail spray to clear off any tire dressing overspray and leftover water.
Then the paint. Grab a fresh towel, not the one you just used on the wheels, and wipe the paint down with a detail spray. This catches any last water or residue from the wash and leaves the finish slick and glossy.
Glass last, always. Save the glass for the very end so any spray or fingerprints from the earlier steps get cleaned up instead of left behind.

Picking a Detail Spray
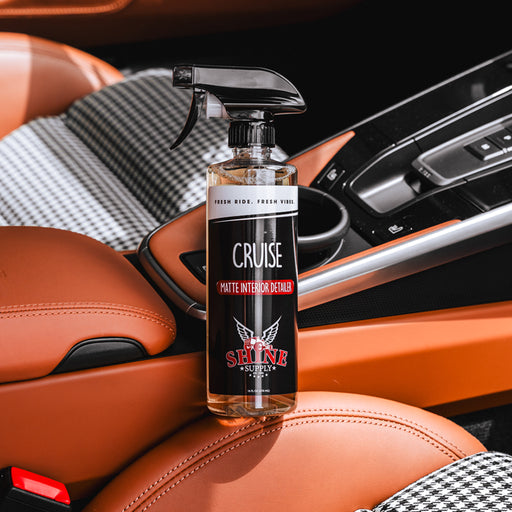
Same idea as the soaps, match the spray to your car:


Not sure which is right for you? We break it all down in our guide on how to choose the right detail spray.
Beating Water Spots in the Heat
This gets its own section because summer makes it a real problem. The hotter it is, the faster water flashes dry, and the smaller your window to get it off the paint before it spots. Two habits win here: wash and dry out of direct sun, and dry the car immediately, do not let a single panel sit wet while you work on another.
Your water itself matters too. The harder your tap water, the more minerals it leaves behind when it dries. If you have a DI (deionized) tank, run your final rinse through it. That strips the minerals out, so the water dries clean and you can even let it sheet off with almost no toweling. If you do not have one, no problem, most people do not. The fix is the same as always: work in the shade and dry fast before the water flashes. If spots have already set in, our guide on how to remove water spots from car paint walks you through getting them back off.
Pro Tips
- Always use the right soap. Match it to what your car is wearing. The wrong soap strips your protection and can dull the finish, so this one matters more than people think.
- Wheels and tires first. They are the dirtiest and the slowest. Get them out of the way before your water is dirty.
- Never wash in direct sun. Hot paint flashes soap and water and leaves you fighting streaks and spots.
- Straight lines, not circles. Any scratch you do put in is far less visible in a straight line than in a swirl.
- Keep the lowers separate. A dedicated Block Party block for the bottom keeps heavy grit away from your good paint.
- Rinse before you reload. Always rinse your media in the rinse bucket before dipping back into the soap.
- Dry immediately. The wash is not done until the car is dry. Do not walk away and let it spot.
Why the Two-Media System Matters
Most wash advice stops at "use two buckets." That is a great start, but it misses half the problem. The dirt on your lower rockers is not the same as the film on your roof. It is heavier, grittier, and far more likely to scratch. Run one mitt over the whole car and you are taking that rocker grit and rubbing it across your hood.
Splitting your media, Flat Out up top and Block Party down low, solves that at the root. The heavy stuff never migrates up. Add the double-sided, four-pad rotation on the uppers and you are always washing with a fresh, clean face. That is the difference between a car that slowly hazes over every summer and one that still looks deep and glossy years in. It is not more work. It is just smarter work.
No Water? Try a Waterless Wash
No hose, no spigot, or stuck in an apartment lot? You can still keep the car clean without grinding grit into the paint, but a waterless wash is its own process with its own rules. Done wrong it will scratch, done right it is a great option between full washes. We walk through the whole thing in how to wash your car without water.
Wash It Right the First Time
Two buckets, the right soap, Flat Out up top and Block Party down low, and a fast dry out of the sun. That is the whole system, and it is what keeps your paint scratch, swirl, and spot free all summer. Grab what you need and get after it.
Shop Wash + SoapFrequently Asked Questions
Can I just use dish soap?
No. Dish soap is made to strip grease, so it strips the wax, sealant, or protection off your paint right along with the dirt, and it dries the paint out over time. Use a dedicated car soap like Hotshot or, for coated cars, Shift.
Do I need a foam cannon or foam gun?
No, you do not need one. It is more efficient and makes for a safer wash, but it is not required. If you are working out of a bucket, just add the right amount of soap to your wash water and follow the same steps, top to bottom, two media, straight lines. You simply skip the foam step. Same wash, one less tool.
Do I really need two different wash pads?
If you care about avoiding swirls, yes. The grit on your lower panels is heavier and more abrasive than the film up top. Keeping a dedicated Block Party block for the lowers means that heavy debris never gets dragged across your good paint.
How often should I wash?
It depends on how the car is driven and stored, but a good rhythm for most people is every one to two weeks. The more often you keep it clean, the less grit builds up and the safer each wash is.
What soap do I use on a ceramic coating or a wrap?
Shift. It is a ceramic-safe, high-lubrication soap built for coatings, wraps, and PPF. It cleans safely and helps maintain the beading and hydrophobics instead of wearing them down.
How do I avoid water spots without a DI tank?
Wash and dry out of direct sun, and dry the car right away with a quality towel and a drying aid. Water spots come from water sitting and drying on the paint, so the trick is simply not letting that happen.