

How to Use a Foam Cannon the Right Way
How to Use a Foam Cannon the Right Way

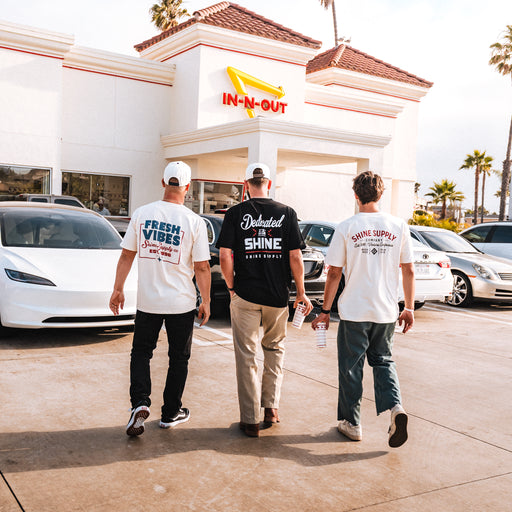
Most people wash their car the same way they always have. Fill a bucket, dunk a mitt, and start scrubbing. It works, technically. But if you care about keeping your paint in good shape, there's a better first step. A foam cannon pre-soaks the entire vehicle in thick, clinging foam that breaks down dirt and lifts it off the surface before you make contact. That means less friction, less risk of swirl marks, and a cleaner result with less effort.
Whether you're washing a daily driver every weekend or maintaining a ceramic-coated truck, using a foam cannon with the right soap makes a real difference. This guide walks through the full process, from loading the cannon to choosing the right soap for your specific situation, using The Foam Thrower and our lineup of wash and pre-wash soaps.
Why a Foam Cannon Beats a Bucket Wash
A bucket wash puts all the cleaning responsibility on friction. Your wash mitt is dragging across the paint. That's where scratches happen. A foam cannon flips the process. It lays down a thick layer of soap that dwells on the surface, softening and encapsulating dirt particles so they rinse off or slide off with minimal contact.
The difference isn't just theoretical. When you pre-soak with a foam cannon, the contact wash that follows is safer because you've already removed the worst of the contamination. You're not grinding road grime into your clear coat with every pass of the mitt. The foam also provides additional lubrication during the contact wash itself, giving your mitt a slicker surface to glide across.
There's a practical side too. A foam cannon covers an entire vehicle in 30 seconds. Try doing that with a bucket and a wash mitt. You'll be at it for several minutes just to get soap on every panel. For anyone washing regularly, or running a mobile detail operation, that time adds up fast.
Choosing the Right Soap for Your Foam Cannon
The foam cannon is only half the equation. The soap you run through it determines what actually happens on the surface. Different soaps are built for different jobs, and using the wrong one can leave protection on the table or strip it off entirely. Here's how our soaps break down for foam cannon use.
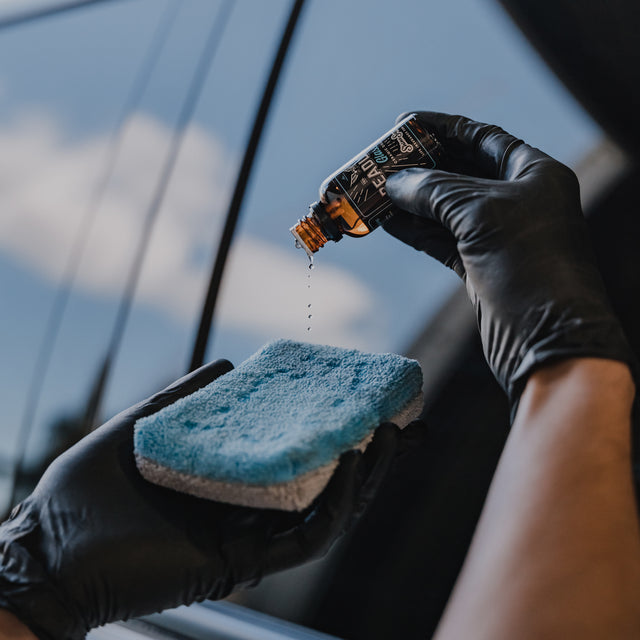
For Ceramic-Coated Vehicles: Shift Soap
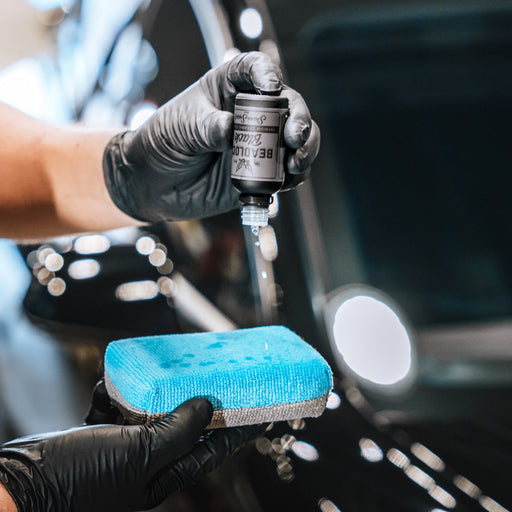
If your vehicle has a ceramic coating, Shift Soap is the one to reach for. It's a high-lubrication formula with built-in Bead Booster technology that actually enhances the hydrophobic performance of your coating while you wash. It produces thick, clinging foam through a foam cannon and is safe on coated paint, trim, glass, wheels, PPF, and vinyl wraps. This is your go-to for weekly or bi-weekly maintenance washes where the goal is preserving protection, not stripping it.

Shift Soap
Ceramic-safe wash formula with Bead Booster technology. High lubrication, thick foam, safe on coatings, PPF, and wraps.
Shop Shift Soap →For Waxed or Sealed Vehicles: Shine Soap
Running a traditional wax or paint sealant? Shine Soap is built for that. It's a pH-balanced, low-foaming formula infused with wax polymers that clean safely while reinforcing the protection already on your paint. It also contains water-softening agents that drastically reduce spotting on paint, chrome, and glass. The low-foam design means faster rinsing and less water usage. Ideal for at-home washes where you want to maintain your wax without constantly reapplying it.

Shine Soap
pH-balanced wash with wax polymers and water-softening agents. Cleans gently while extending wax and sealant protection.
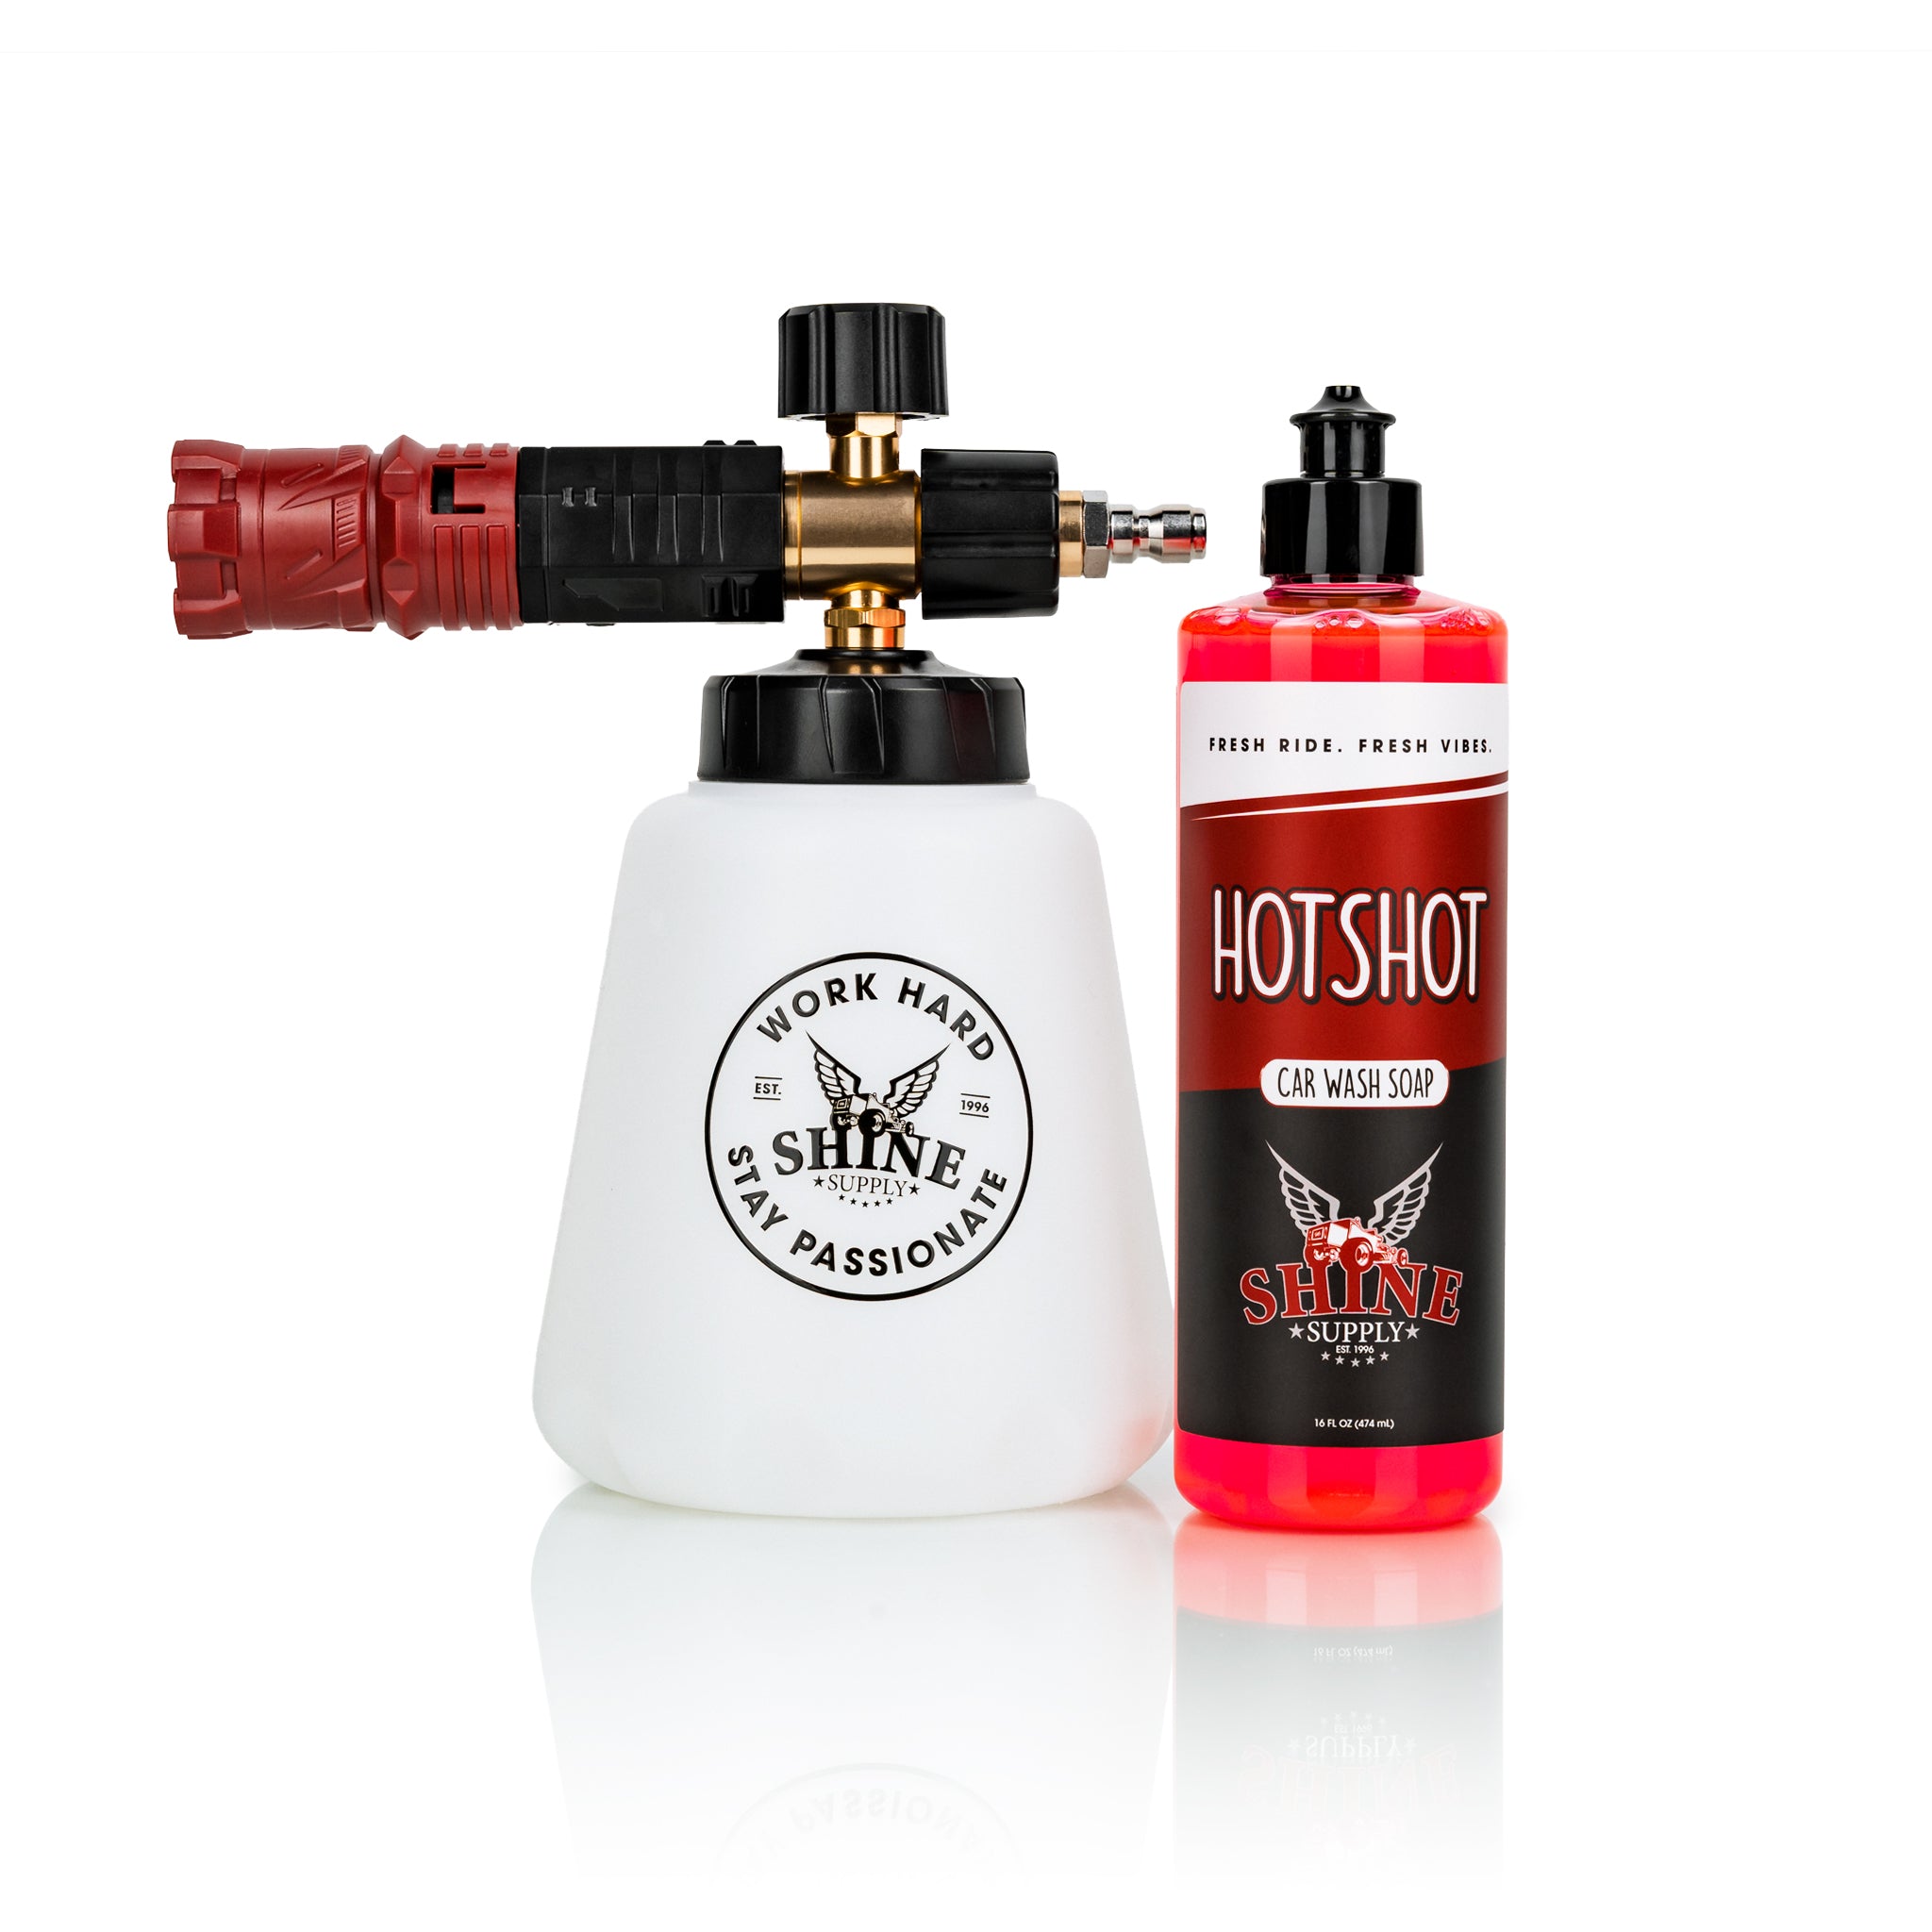
Shop Shine Soap →For Maintenance Washing, Fleet Washing, and Paint Prep: Hot Shot Soap
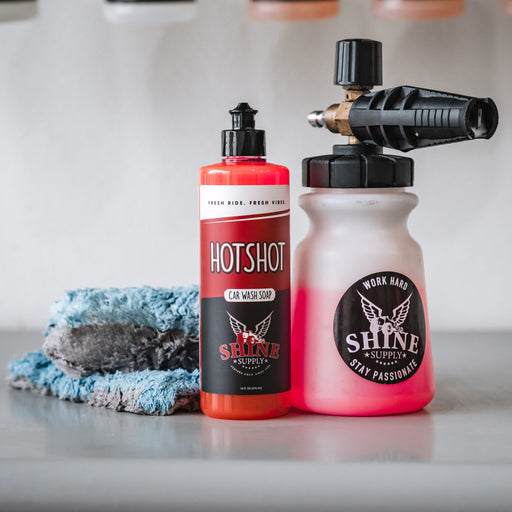
Hot Shot Soap is the high-foaming workhorse. It produces dense, shaving-cream-style foam that clings and dwells, making it ideal for foam cannon use on non-coated vehicles that need a strong, efficient clean. The highly concentrated formula breaks down dirt, traffic film, and road grime while staying pH neutral and safe on existing waxes and sealants. It contains no waxes, gloss enhancers, or ceramic additives, which makes it the right choice for regular maintenance washing on non-ceramic vehicles, fleet washing where volume and efficiency matter, and prepping paint before a new coating, sealant, or wax application. It's a go-to for mobile detailers and anyone running through multiple vehicles in a day.

Hot Shot Soap
High-foaming, pH-neutral deep cleaner. Dense cherry-scented suds, no gloss enhancers. Pure cleaning power for prep and maintenance.
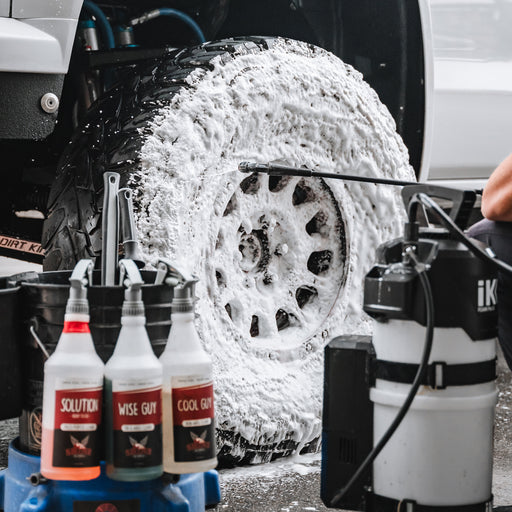
Shop Hot Shot Soap →For Heavily Soiled Vehicles: Hole Shot Prep Wash
When a vehicle is caked in mud, road grime, or heavy contamination, going straight to a contact wash is asking for scratches. Hole Shot Prep Wash is a non-caustic pre-wash designed to break down heavy grime before you ever touch the paint. Load it in your foam cannon at a 2 to 1 dilution (water to product), spray the vehicle down, let it dwell for 1 to 2 minutes, and rinse. The bulk of the contamination comes off without contact. Then follow up with your regular soap for the contact wash. It's safe on paint, plastics, rubber, metal, and aluminum.
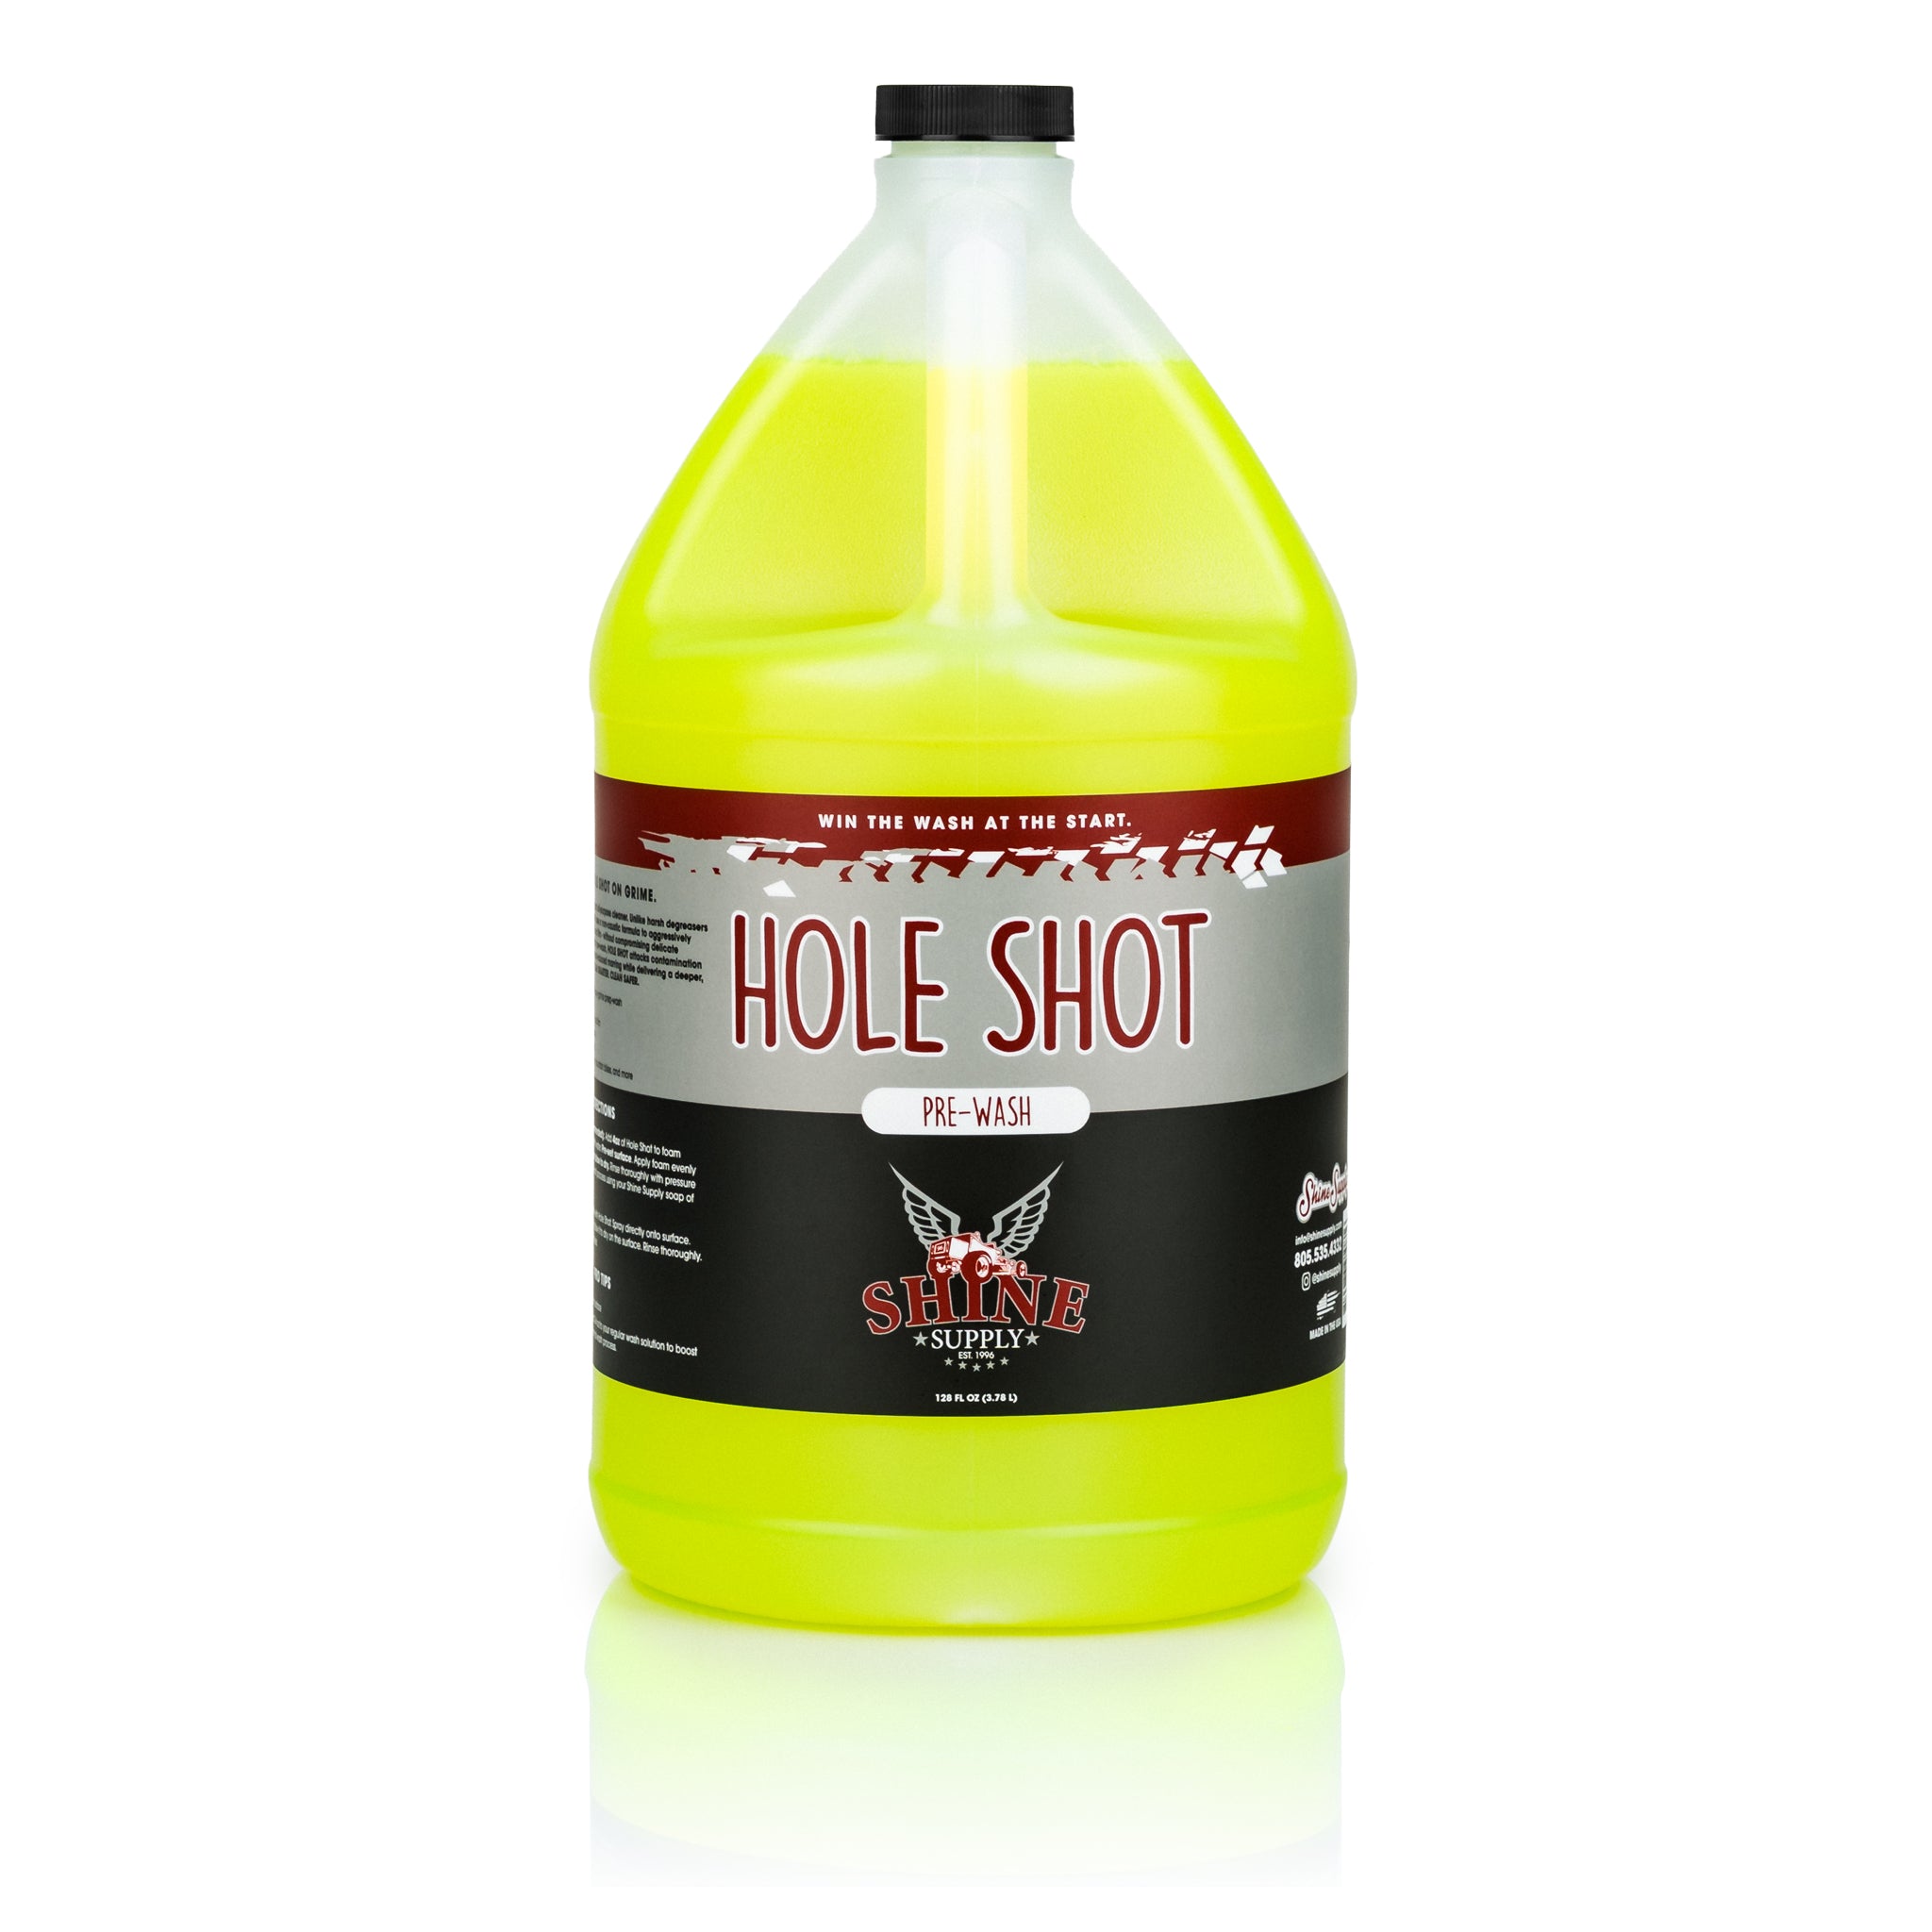
Hole Shot Prep Wash
Non-caustic heavy-grime pre-wash. Breaks down mud, road film, and contamination before contact. Built-in rinse aid leaves no residue.
Shop Hole Shot Prep Wash →Step-by-Step: How to Foam Wash Your Car with a Foam Cannon
Pre-Rinse the Vehicle
Before you touch the foam cannon, rinse the entire vehicle with a strong stream of water. This knocks off loose dirt, dust, and debris that would otherwise get trapped in your foam and dragged across the paint during the contact wash. Start from the top and work down. Roof, hood, sides, then lower panels. If the vehicle is heavily soiled with mud or caked-on grime, this is where you'd use Hole Shot Prep Wash as a pre-soak before moving to your regular foam soap.
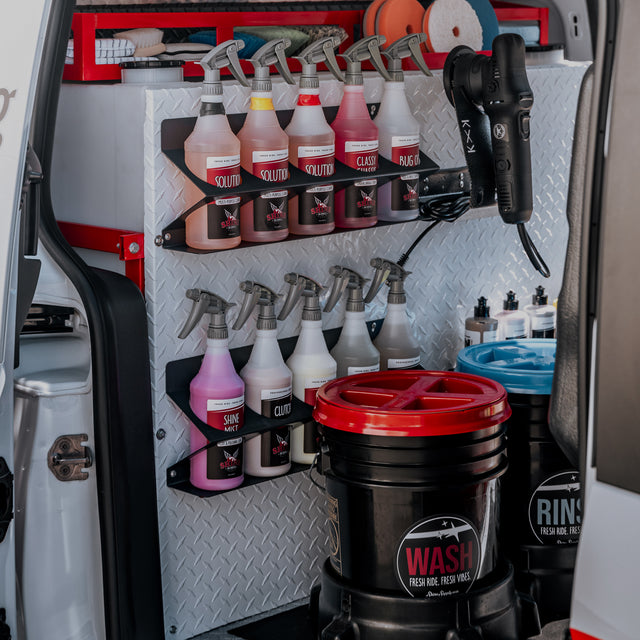
Load The Foam Thrower
Add 2 to 4 oz of your chosen Shine Supply soap to The Foam Thrower's bottle, then fill the rest with water. The bottle has a measuring tank printed on the side, so you know exactly how much soap you're adding without guessing. The amount of soap you use affects foam thickness, so start with 3 oz and adjust from there based on how thick you want the foam to lay down. The Foam Thrower has adjustable fan and foam output controls, so you can dial in exactly the coverage pattern and foam density you need.
The Foam Thrower
Adjustable foam cannon with pro-grade construction. Customizable fan pattern and foam output for thick, even coverage every wash.
Shop The Foam Thrower →
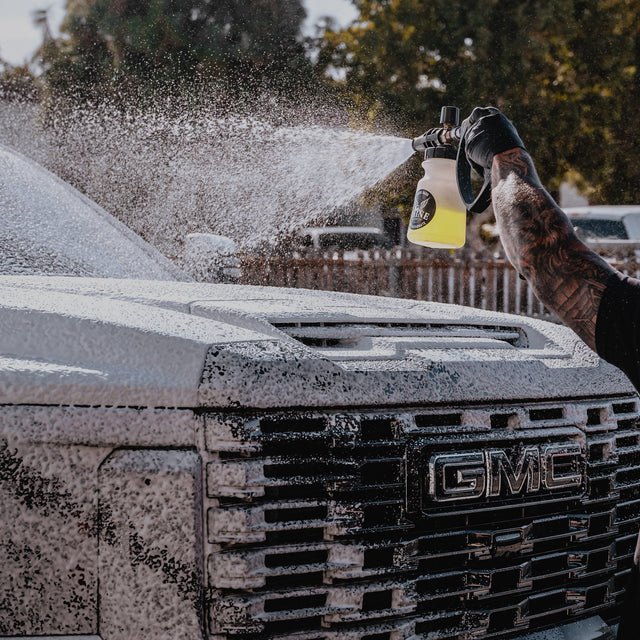
Apply Foam to the Entire Vehicle
Attach The Foam Thrower to your pressure washer and apply a full, even layer of foam across the entire vehicle. Work from the bottom up when applying. This lets the foam cling and build on the lower panels where contamination is heaviest, while gravity pulls it down over the upper panels. Cover everything: paint, glass, wheels, trim, and bumpers. Once the vehicle is fully coated, let the foam dwell for 2 to 3 minutes. This dwell time is where the soap does its work, breaking down and lifting dirt off the surface. If you're using DI water, you have more flexibility here since the foam can sit without the risk of mineral spots. If you're on regular tap water, keep an eye on it and don't let the soap dry on the surface.

Contact Wash
After the foam has had time to dwell, it's time for the contact wash. Use Flat Out Wash Pads for the upper and middle sections of the vehicle, and the Block Party Wash Block for the lower panels. Why separate wash media? The bottom of the vehicle collects the heaviest debris like rocker panels, bumpers, and wheel wells. Keeping a dedicated wash block for the lower sections prevents that heavy contamination from being dragged across cleaner upper panels. The Flat Out pads come in a 4-pack so you can swap to a clean pad for each quarter of the vehicle.
Work from the top down, and don't press hard. Let the lubrication in the soap do the work. Rinse your pad frequently in a clean rinse bucket before reloading with soap from the wash bucket. This step is where proper technique prevents scratches, and the foam cannon just made it a whole lot safer.

Flat Out Wash Pads (4-Pack)
700 GSM ultra-plush microfiber pads. Lifts dirt fast, rinses clean instantly. Use one per quarter panel to keep wash media fresh.
Shop Flat Out Wash Pads →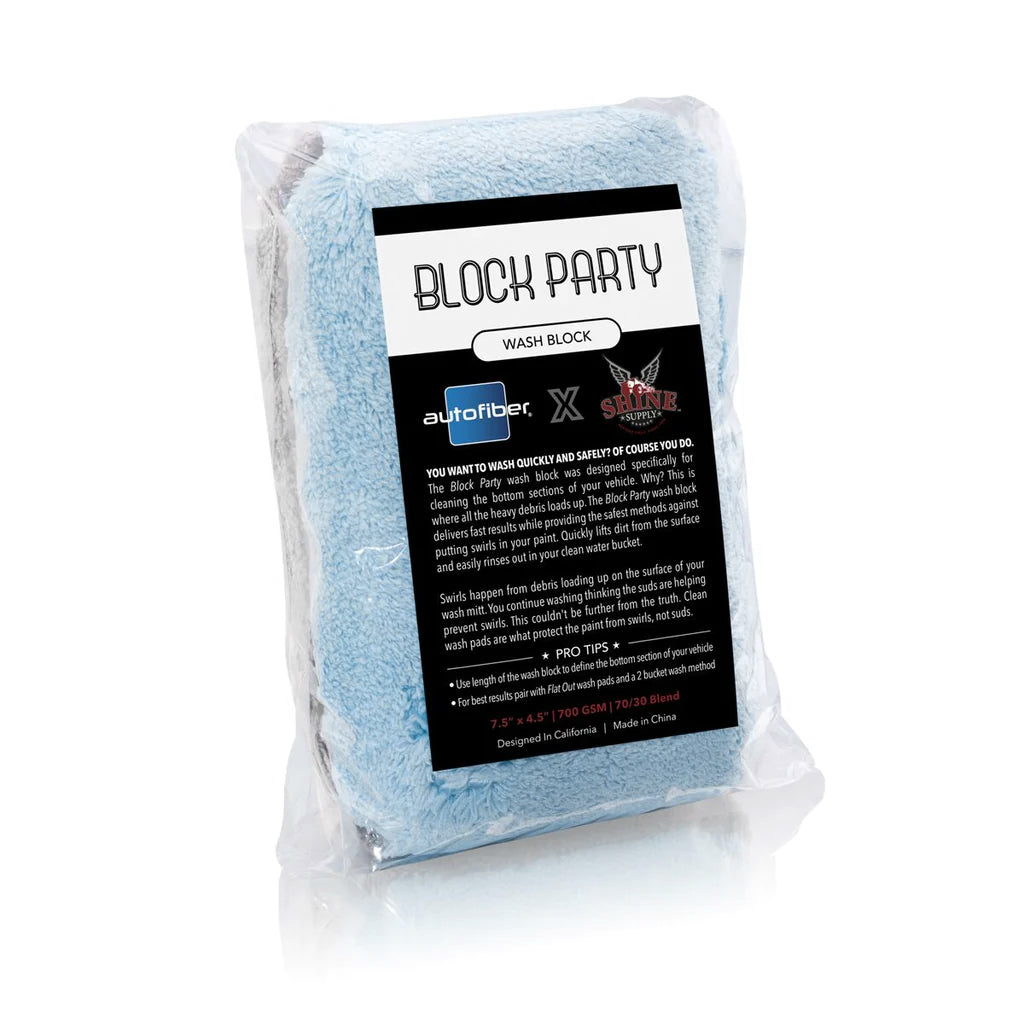
Block Party Wash Block
700 GSM microfiber wash block built for lower panels. Keeps heavy debris separated from upper paint. Pair with Flat Out pads for a full system.
Shop Block Party Wash Block →
Rinse and Dry
Rinse the vehicle thoroughly from top to bottom, making sure all soap is completely removed. Never let soap dry on the surface. Make this a habit every single wash. If you're running DI water, you have more room to work in direct sunlight without worrying about mineral spots. If you're on regular tap water, dry immediately with a clean, quality drying towel to prevent water spotting. Shine Soap's built-in water-softening agents help reduce spotting, but prompt drying is still the best practice regardless of what soap you're using. After you're done washing, rinse out The Foam Thrower's bottle and sprayer to keep it performing consistently wash after wash.
Pro Tips for Better Foam Cannon Results
- Match the soap to the situation. Ceramic coating? Shift Soap. Wax or sealant? Shine Soap. Maintenance or fleet washing on non-coated vehicles, or prepping paint? Hot Shot. Caked-on grime before a contact wash? Hole Shot first. Using the right soap matters more than how much foam you produce.
- Don't skip the pre-rinse. Foam works best when the worst loose debris is already gone. A solid rinse before foaming means the soap can focus on the stuff that's actually bonded to the surface.
- Let it dwell, but never let it dry. Foam needs time to break down contamination, but dried soap bakes onto the surface and causes water spots and residue. If you're running DI water, you have more flexibility to wash in direct sun and let the foam sit longer. If you're on regular tap water, never let the soap dry. Work in sections if it's hot out, and make it a habit to keep the surface wet at all times.
- Adjust the fan and foam output. The Foam Thrower lets you control both. Wide fan for broad coverage on hoods and roofs. Narrow fan for targeted areas. More foam output for heavily soiled vehicles, less for a quick maintenance wash.
- Rinse the cannon after every use. Soap residue left in the bottle and nozzle will clog things up over time. A quick rinse with clean water after each wash keeps The Foam Thrower working like it should.
- Use the soap adjustment knob. The Foam Thrower has an adjustable knob on top that controls how much soap mixes into the water stream. If your foam is too thin, open it up to let more soap through. If it's too thick or you're going through soap too fast, dial it back. Take a minute to find the setting that works for your soap and pressure washer combo. It makes a noticeable difference in foam quality.
Why The Foam Thrower Is Different
There are foam cannons everywhere. Cheap ones that fall apart after a few uses, and overpriced ones that don't perform any better. The Foam Thrower is built with pro-grade components designed for consistent, reliable performance wash after wash. The adjustable fan and foam output let you control exactly how thick the foam lays down and how wide it sprays, and the soap adjustment knob on top lets you fine-tune how much concentrate mixes into the water stream. It produces a dense, even foam blanket that clings to the surface and actually does its job during dwell time.
The details matter here. There's a built-in filter on the straw that catches debris before it reaches the cannon. That's what prevents clogging and keeps it running clean long-term. The filter also floats, which means the straw draws soap from whatever level the liquid is at, so you use the full container without wasting product. The bottle itself has a measuring tank printed on the side, so you know exactly how much soap you're adding without guessing. And the container is wider and broader than most foam cannon bottles. It holds more soap and water, and the wide base means it's not tipping over every time you set it down.
It comes bundled with your choice of Shine Supply soap, Shift, Hot Shot, or Shine, so you're ready to go right out of the box. At $50, it's built to last and priced to make sense.
Start With the Right Tools
The Foam Thrower paired with the right Shine Supply soap is the foundation of a safer, faster wash. Pick the soap that matches your vehicle's protection and get to work.
Shop The Foam ThrowerFrequently Asked Questions
Yes. The Foam Thrower connects to a pressure washer and is not designed for a standard garden hose. The pressure washer is what generates the thick, dense foam coverage that makes the foam cannon method so effective. If you don't have a pressure washer yet, it's a worthwhile investment for anyone serious about keeping their vehicle clean the right way.
For Shift Soap, Hot Shot Soap, and Shine Soap, add 2 to 4 oz to The Foam Thrower's bottle and fill the rest with water. For Hole Shot Prep Wash, use a 2 to 1 dilution ratio (water to product). Start in the middle of the range and adjust based on how thick you want the foam.
Yes. A foam cannon is a pre-wash step, not a replacement for a contact wash. The foam loosens and lifts dirt, but a proper hand wash with clean wash media is still needed to fully clean the surface. The foam cannon just makes that contact wash significantly safer.
Shift Soap. It's formulated specifically for ceramic-coated vehicles and includes Bead Booster technology that enhances your coating's water-beading performance during each wash. Avoid using Hot Shot Soap regularly on coated vehicles since it's a strong cleaner and repeated use can wear coatings down prematurely.
It depends on your water source. If you're using DI water, you can wash in direct sunlight without the same risk of water spots because the purified water won't leave mineral deposits. If you're on regular tap water, you need to be more careful. Work in sections, keep the surface wet, and never let the soap or rinse water dry on the paint. Regardless of water source, always make it a habit to never let soap sit and dry on the surface.