
Protect While You Dry
Protect While You Dry

Introduction
In the summer, you want to dry the car fast, and for good reason. Water left sitting on hot paint is exactly where water spots come from. The longer it sits, the worse it gets.
Here is the move most people miss. You can add a drying aid right into that step, and it does two things at once. It makes drying faster and easier, because it helps the water sheet off the panel instead of clinging to it, and it lays down a layer of protection while you go. Same wipe, less water, more protection.
In this blog we will cover why that works, and how to pick the right product for your paint, because a coated car and a non-coated car do not get the same thing.
Watch The Walkthrough
Prefer to see it done? Here is the whole process, start to finish.
Why Drying Your Protection In Works
Traditional protection is its own job. Wax on, wait, buff off. A drying aid folds that whole thing into a step you were already doing.
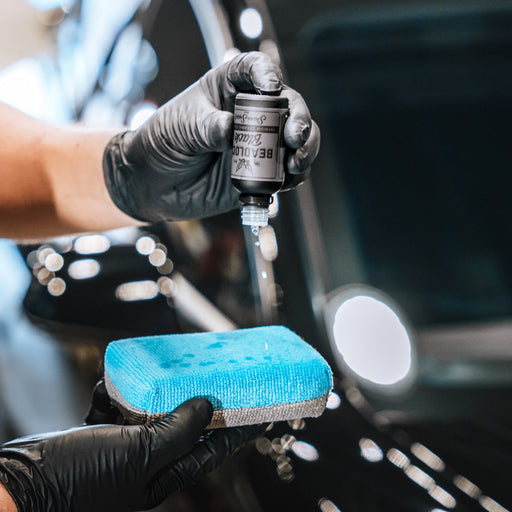
You mist a light protectant onto a wet panel and dry it in with your towel. The product helps the water sheet off, so the drying is actually faster, and you finish with a fresh layer of protection already down.
Less time, less product, and the paint stays slick and beads better between washes. That is the whole idea.

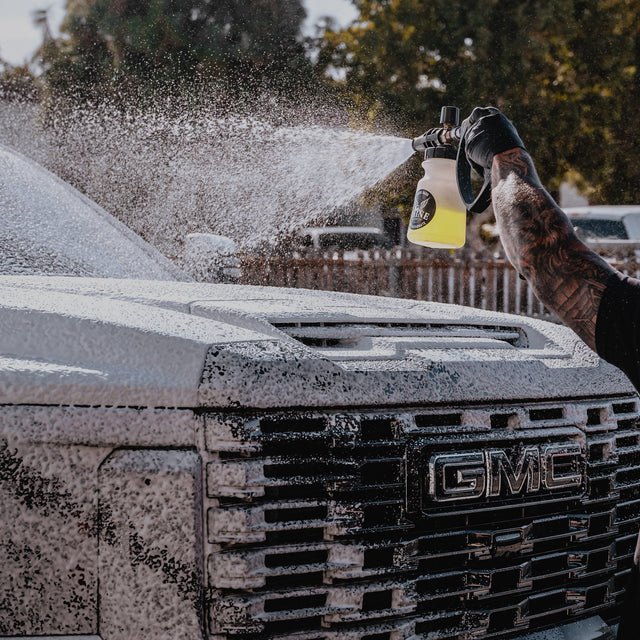
This is what it looks like. Water beads up and sheets off fast instead of clinging to the paint.
First, Know What You're Protecting
Every product past this point is matched to a type of paint. Before you grab a bottle, answer one question. Is the car running a ceramic coating, or is it wax, sealant, or no protection at all? That answer decides your soap, your drying aid, and your final wipe.
The one rule to remember: never put a wax over a ceramic coating. Wax-based products mask the hydrophobic properties of a coating you already paid for. Coated cars get ceramic products. Everything else gets wax and sealant products. Keep those two lanes straight and you cannot go wrong.
Step 1: Wash It Clean
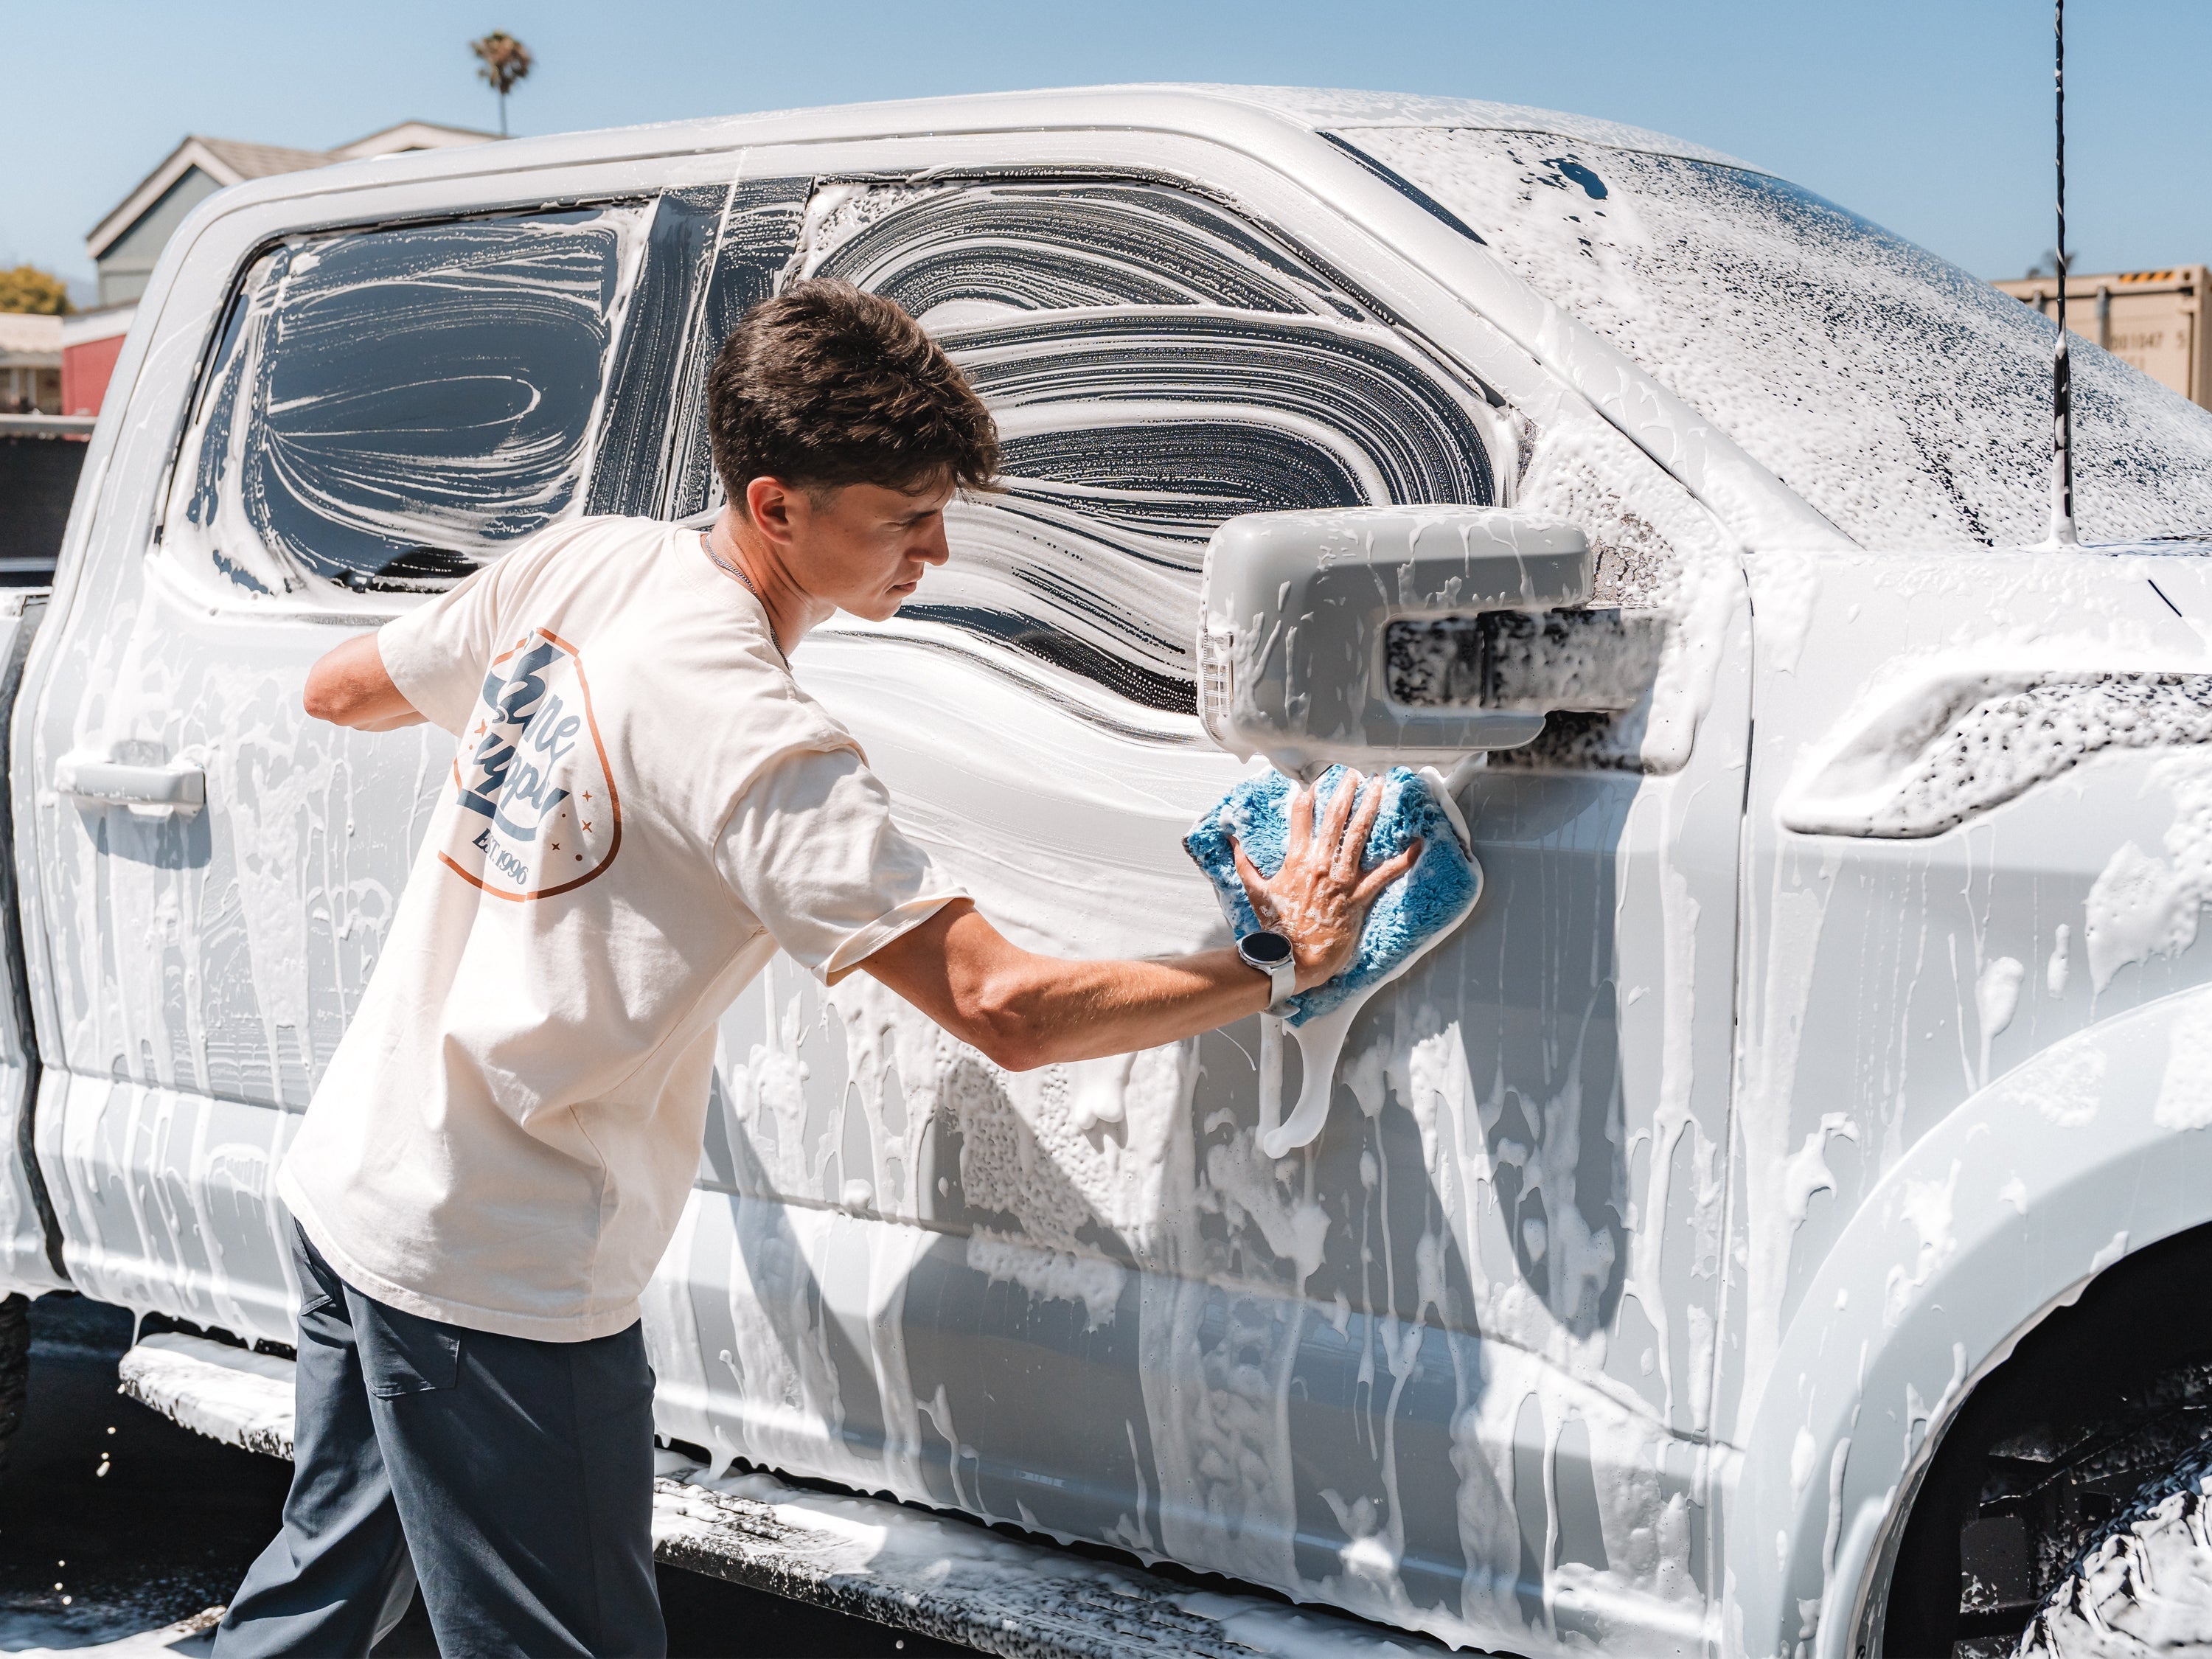
Protection only bonds to a clean surface, so start with a proper wash. Match your soap to what is already on the paint. We will keep this quick, because we have a whole guide on it.
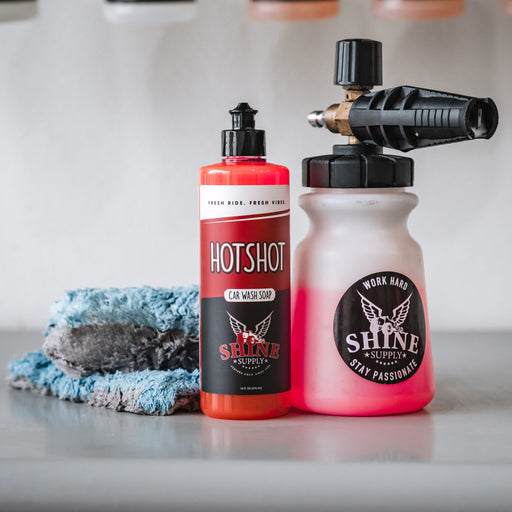
No protection? Hotshot for general maintenance. Waxed or sealed? Shine Wash & Wax, which cleans while it reinforces what is on there. Ceramic coated or wrapped? Shift, the coating-safe maintenance wash.
Use clean, paint-safe media like the Flat Out Wash Pads either way. Want the full breakdown on which soap fits your setup? Read the soap guide here.

Hotshot Soap
High-foam, high-cleaning maintenance wash for unprotected paint. pH neutral.
Shop Hotshot →
Shine Wash & Wax
Cleans while it reinforces your existing wax or sealant. For protected, non-coated paint.
Shop Shine Wash & Wax →
Shift Soap
Ceramic-safe maintenance wash. Cleans coatings and wraps without wearing them down.
Shop Shift →Step 2: Clay It While You Wash (Optional)
This step is completely optional. But if the car has not been clayed in a long time and the paint feels rough, do it. Bonded contamination keeps your protection from truly bonding, so pulling it out now pays off in how long everything lasts.
The key is doing it in the wash stage, not after. Use our Clay Mitt or Clay Towel instead of a clay bar. After you wash and rinse the soap off, re-lather the panel to keep it lubricated, clay it with the mitt or towel, then rinse. Now the car is decontaminated and still wet, so you go straight into drying your protection in.
Why the mitt or towel over a bar here? A clay bar needs its own lube and a dry-then-clay workflow that breaks up your wash. The mitt and towel work right in the wash stage with your soap as lube, so you stay in one flow and finish wet and ready to protect.

Clay Mitt & Clay Towel
Synthetic clay media that pulls bonded contamination out of the clear coat and rinses clean. Faster to handle than a bar.
Shop Clay Mitt & Towel →

Step 3: Dry And Protect
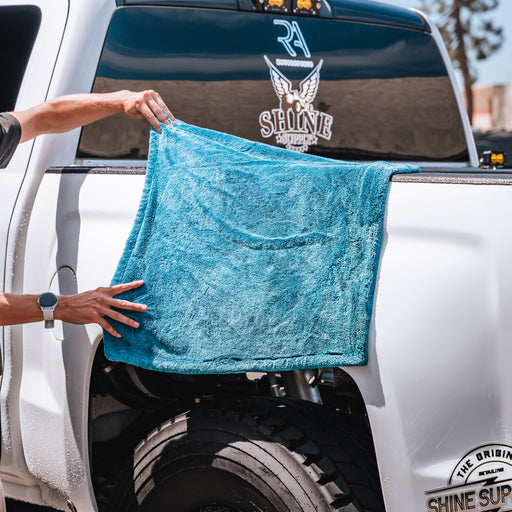
Washed, rinsed, still wet. This is where it happens. Grab a quality drying towel and the drying aid that matches your paint. Mist one to two sprays onto a wet panel, then dry it in with the towel. Work one panel at a time so the product never dries on the surface. This is the fork in the road.
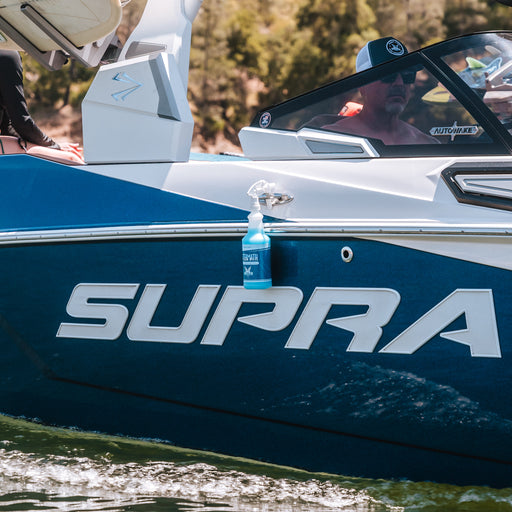
Wax, sealant, or bare paint. Reach for Wet Detailer. It is a water-activated sealant that dries in as you go, adding gloss and roughly 4 to 6 months of protection, or boosting the wax or sealant already on the car. It dries transparent with no white residue, and it is safe on paint, glass, chrome, and trim.

Wet Detailer
Water-activated drying aid sealant. Dries in as you go for 4 to 6 months of protection. No white residue.
Shop Wet Detailer →
Ceramic coated. Skip the Wet Detailer here, because a wax over a coating masks the hydrophobics. Use Punch-It instead. It is a SiO₂ ceramic spray, so it boosts the coating's slickness and self-cleaning instead of covering it. Go panel by panel and dry it in. Less is more, since it is loaded with silica and over-application is what causes streaking.

Punch-It
SiO₂ ceramic detailer. Used as a drying aid it cuts towel drag and boosts your coating. One to two mists per panel.
Shop Punch-It →
Step 4: Finish It (Optional)
Not mandatory, but it is what separates good from crisp. After drying your protection in, a light final wipe levels any shadowing and leaves the paint slick and streak free. Same rule applies, match it to your paint.
After Wet Detailer, use Ride Shine. It is a carnauba wax-based detail spray, so it pairs perfectly with wax-based Wet Detailer. It wipes clean even in the sun for a warm, glossy finish.

Ride Shine
Carnauba wax-based detail spray. Reinforces wax and sealant, wipes clean in the sun. Not for ceramic coatings.
Shop Ride Shine →After Punch-It, use Throttle. It levels out any shadowing left from the ceramic spray and leaves a crisp, anti-static, streak-free finish. It adds no protection. It is purely a finisher, and you will not be chasing streaks with it.

Throttle
The finisher for coated cars. Kills shadowing and static, leaves glass-like slickness with zero streaks.
Shop Throttle →

A Word On Drying Towels
None of this works without a quality drying towel. A cheap, thin towel drags across the paint and can put in the exact swirls you are trying to avoid. A good one holds water, glides, and lets the product dry in evenly. For now, grab one from our Drying Towels collection.
Stay tuned on this one. We are launching our own drying towel line at the end of the month. Four new drying towels, and they are seriously good. Keep an eye out, they should be here soon.

Common Mistakes To Avoid
Crossing the chemistry. A wax product on a coating masks the hydrophobics you paid for. Match the product to the paint, every time.
Using too much, especially with Punch-It. More product does not mean more protection. It means streaks. One to two mists a panel is plenty.
Letting it dry on the surface. These flash fast on hot paint. Work one panel at a time, and stay in the shade when you can.
A dirty drying towel. One dropped, gritty towel undoes the whole job. When it hits the ground, it is out of the rotation.
Final Thoughts
If it were my car, I would keep this simple. Wash it clean, clay it if it needs it, and dry your protection in every wash. Coated or not, it is the easiest protection you will ever add, because you are not really adding a step at all.
Pick your lane and stay in it. Wet Detailer and Ride Shine for wax and sealant. Punch-It and Throttle for coatings. That is the whole system.
All of the products used in this guide are available at ShineSupply.com. If you have any questions or need help choosing the right products for your setup, our team is always happy to help. You can call and talk to a real person at 805-535-4332 or email us anytime at info@shinesupply.com.