
Article: How to Decontaminate Your Paint Before You Protect It
How to Decontaminate Your Paint Before You Protect It
Decon and Protect

Introduction
You washed the car. You dried it. It looks clean. Now drag the back of your hand slowly across the hood. Feel that grit, that rough almost sandpaper texture? That is contamination bonded into your clear coat, and no amount of soap and water is getting it out.
This is the step most people skip, and it is why a lot of wax and sealant jobs do not last. Decontamination is how you actually get the paint clean, and it happens in two phases. A chemical phase that pulls the iron up out of the pores, and a mechanical phase, claying, that grabs everything still bonded to the surface. This blog walks both, breaks down which clay to reach for, and covers why it all has to happen before you protect.
Washed Isn't Clean
A wash removes what is sitting loose on the surface. Dirt, dust, traffic film. What it does not remove is what has bonded to the paint over months of driving, and there are two kinds of it.
The first is metallic. Iron particles from brake dust, rail dust, and industrial fallout land on your paint hot, work their way into the pores of the clear coat, and keep corroding. You usually cannot even see them. The second is physical. Overspray, bonded road film, and tree sap mist that you feel as roughness when you run your hand over the panel. Soap does not touch either one. That is what decontamination is for.
Phase One: Pull The Iron Out
Start with the chemical step. Smooth Move is a paint decontamination spray that gets down into the pores of the paint and pulls the bonded iron up and out. That fallout from brake dust and rail dust keeps corroding in the clear coat, and soap cannot reach it. Smooth Move dissolves it chemically so it rinses away.
Here is how we apply it. Give the car a good pre-rinse first to knock off the loose dirt. Then, before you soap the vehicle, spray Smooth Move over the paint and let it go to work. As it reacts with the iron, those particles turn a deep purple-red and bleed off the surface. Let it dwell, then soap the car and agitate it in with your wash, and rinse everything off together. It is acid free and pH balanced, so it is safe on your paint and on ceramic coatings.
That is the chemical half of decontamination. Smooth Move pulls the iron up out of the pores. Your mechanical step, claying, handles anything still bonded to the surface.

Smooth Move
Acid free, pH balanced iron remover. Gets into the pores and pulls bonded fallout up, turning it purple-red so it rinses away. Safe on ceramic coatings.
Shop Smooth Move →
Phase Two: Clay What You Can Still Feel
Chemical decon pulls the iron up out of the pores. Claying grabs the physical contamination still bonded to the surface, the stuff you feel when you run your hand over the panel. You lay down lubrication, glide the clay across the paint in straight lines, and it shears the bonded junk right off. When you are done, that gritty hood goes glass smooth. This is the step that makes the biggest difference in how the paint feels.

Clay Bar vs Clay Mitt vs Clay Towel
Not all clay is the same, and the format changes how fast and how easy the job is. Here is the honest breakdown.
Traditional clay bar. A clay compound you knead by hand to expose a fresh face as it loads up. It comes in grades, usually a finer white and a more aggressive purple, and it works. But it is slow, it crumbles over time, and the second you drop it on the ground it is done, because it absorbs whatever it grabs and holds it against the paint.
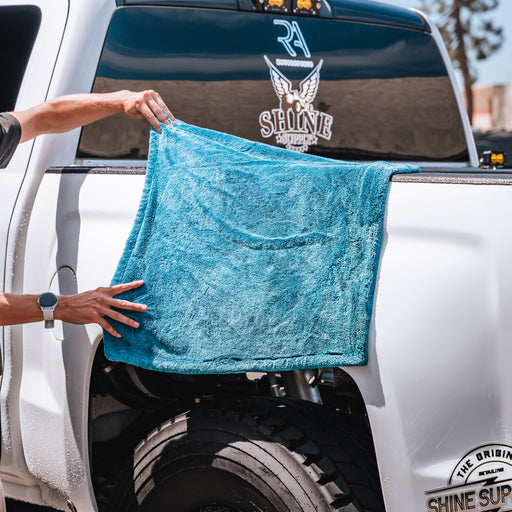
Clay mitt and clay towel. A synthetic rubber or polymer surface that shears the contamination off instead of absorbing it. It covers more ground faster, rinses clean between passes, and if you drop it you just rinse it off and keep going. Our Clay Towel and Clay Mitt are both medium grade synthetic. Same material, same cut, same result. The towel lays flat and covers big panels like hoods and roofs faster. The mitt wears on your hand for more feel around curves and body lines.
Not sure which to grab? We broke the whole thing down in the video below.


Clay Towel
Perforated synthetic towel that traps loosened fallout and overspray. Lays flat for big panels, rinses out, and holds up over many jobs.
Shop the Clay Towel →
Clay Mitt
Synthetic decon mitt that wears on your hand and shears bonded contaminants far faster than a clay bar. Rinse and reuse, no mess.
Shop the Clay Mitt →How To Clay
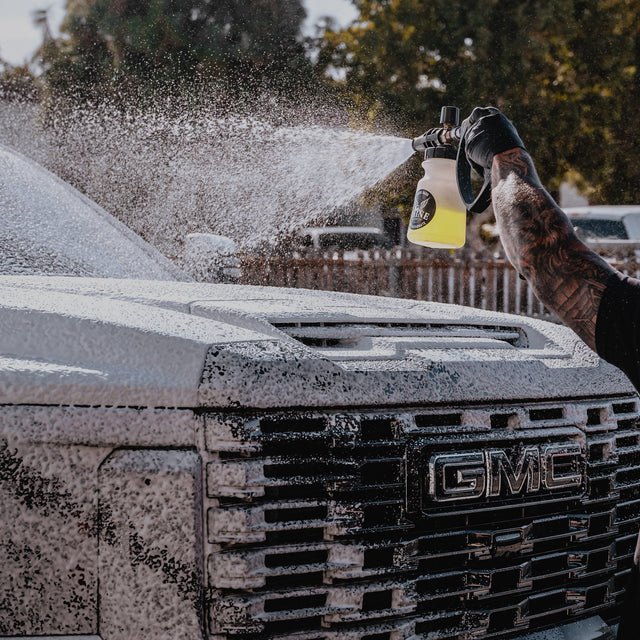
Claying happens after the wash, on a surface that is still slick. Keep the panel lubricated the whole time. You have two easy ways to do it. Re-foam the panel with soap and clay right over the suds, or spray the panel with Shine Mist clay lube. Either one keeps the clay gliding instead of grabbing.
Work one section at a time. Glide the mitt or towel back and forth in straight lines with light pressure, keeping it slick the whole time, until the paint feels smooth. Wipe the section with a clean microfiber, then move on. Rinse the clay often as it loads up so the trapped grit does not get dragged back across your paint.


Shine Mist Clay Lube
The lubrication that lets clay glide safely. Spray it on the panel to keep the surface slick through every pass.
Shop Shine Mist →One rule that matters: it can marr, so keep it lubricated. Never run a clay towel or mitt on dry paint. Medium grade is an aggressive cut, and without Shine Mist or a thick foam film to glide on, it can install light marring. Keep the panel slick at all times, add more lube the second it starts to drag, and let the clay do the work with light pressure.
Heavier contamination? Polish after. If you are doing a heavier clay on paint with a lot of contamination or overspray, that aggressive decon can leave very light marring behind. We recommend following with a light polish to clean it up before you protect. One easy pass is usually all it takes.
Why Clay Before You Protect
Here is the part that ties it all together. Wax, sealant, and ceramic protection only bond to a clean surface. Lay any of them over bonded contamination and the protection sits on top of the junk instead of grabbing the paint, so it sheds faster, beads worse, and never feels as slick. Decontaminate first and that same wax or sealant bonds the way it is supposed to and lasts a lot longer.
Once the paint is decontaminated, it is wide open and ready to take protection. Get it down the same day. Here are a few we would reach for, depending on how you like to work.

Daddy-O Paint Sealant
A durable paint sealant for long lasting protection and slickness on freshly decontaminated paint. Easy to apply, built to last.
Shop Daddy-O →
Cherry Ceramic Wax
A ceramic-infused wax that adds slickness and durability on top of a warm wax gloss. A step up in protection.
Shop Cherry Ceramic Wax →
Clutch Ceramic Spray Sealant
A spray ceramic sealant for longer lasting, hydrophobic protection with an easy, wipe-on application. Great heading into winter.
Shop Clutch →
Wet Detailer
A water activated sealant you mist on wet and dry in as you go. Protection down with zero extra steps, no buffing.
Shop Wet Detailer →Kits We Built For Exactly This
Do not want to piece it together? We put together kits for this exact job, depending on how deep you want to go.

Clay Bar Kit
The simplest way to start claying. Pairs a Shine Supply clay bar with Shine Mist lube, so you have everything the mechanical step needs in one grab.
Shop the Clay Bar Kit →
Paint Decontamination Kit
The full decon setup. Everything you need to chemically pull the iron and clay the surface so the paint goes truly clean before protection.
Shop the Paint Decontamination Kit →
The Decon & Seal Kit
Our pick for DIYers who want to clay and seal in one session. Run your standard wash, decon the paint, and lay down protection, all in one box.
Shop the Decon & Seal Kit →Common Mistakes To Avoid
Claying dry paint. Medium grade clay needs lubrication at all times. Run it dry and you will install marring instead of removing contamination. Shine Mist or a thick foam film, every panel.
Not enough lube. If the clay starts to drag or grab, it is telling you it needs more. Keep the surface slick the whole way through.
Not rinsing the clay. As it loads up, rinse it. A loaded mitt or towel drags trapped grit right back across your paint.
Skipping the polish after a heavy decon. On soft or dark paint, an aggressive clay can leave light marring. One quick pass of polish pulls it back to crisp before you protect.
Protecting over contamination. Wax or sealant over bonded junk sheds fast and never feels right. Decontaminate first, every time.
Final Thoughts
If it were my car, I would keep this simple. Pull the iron with Smooth Move, clay off what you can still feel with the Clay Towel or Mitt, give it a light polish if the decon was aggressive, then lock it in with the sealant or wax of your choice. A washed car is not a clean car. Decon first, protect second. That order is the whole point.
All of the products used in this guide are available at ShineSupply.com. If you have any questions or need help choosing the right products for your setup, our team is always happy to help. You can call and talk to a real person at 805-535-4332 or email us anytime at info@shinesupply.com.