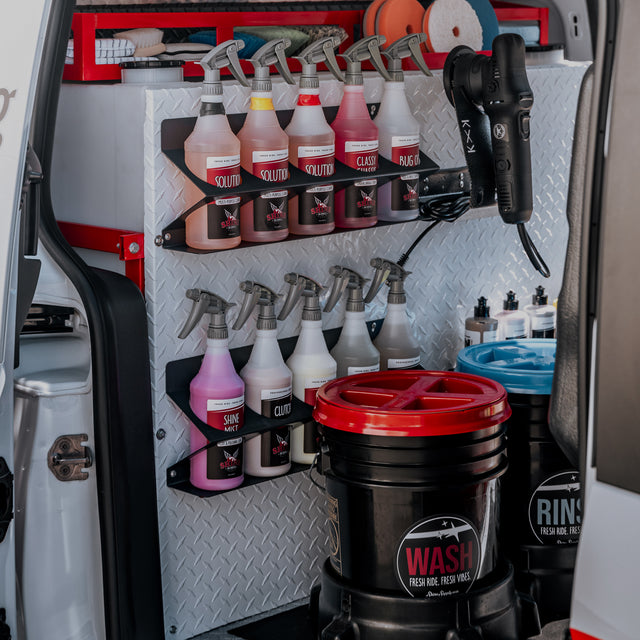


The Complete Guide to Our Compounds & Polishes
The Complete Guide to Our Compounds & Polishes

We carry a lot of compounds and polishes, and we get a lot of questions about which one you actually need. We have a lineup this deep because we are compounding and polishing cars every day in the shop, and the work is not one-size-fits-all. There are a lot of different clear coats out there, and different correction jobs that call for either a one-step or a two-step approach. We built this guide to break every product down so you can choose the right one based on the job in front of you and the type of paint or clear coat you are working on.
It is a full breakdown of every compound and polish we make. Use the Quick Pick below to jump straight to a product, or work your way down to see how we use each one, what pad to pair it with, and where it lands on cut and finish.
Quick Pick: Which One Do I Reach For?
Short on time? Find your job below and tap the product to jump straight to its full breakdown. Cut and finish are rated out of 10.
| If you need to... | Reach for | Cut · Finish |
|---|---|---|
| Handle the everyday correction job | Classic Cut | 7/10 · 4/10 |
| Get a faster cut and better finish than Classic Cut | Classic Cut Plus | 8/10 · 5/10 |
| Final polish hard clear or heavy haze | Classic Polish | 4/10 · 8/10 |
| Finish out soft paint and minor haze | Classic Finish Plus | 1/10 · 10/10 |
| Compound gel coat and heavy oxidation | Heavy Cut | 9/10 · 1/10 |
| Cut the worst scratches and sand marks | Chop Top | 10/10 · 4/10 |
| Correct hard clear coat on a dual action | Flat Top | 8/10 · 2/10 |
| Correct and finish in one step, prime for a coating | Burn Out | 5/10 · 5/10 |
| Polish or prep for a ceramic coating | Slick Back | 3/10 · 8/10 |
| Polish and protect gel coat | Wake Up | 6/10 · 6/10 |
Diminishing vs. Non-Diminishing Abrasives
One piece of knowledge that changes how you use almost everything on this page: how the abrasive breaks down.
A diminishing abrasive starts aggressive and gets finer as you work it. The first passes cut hard and knock down defects. As you keep cycling the product, the abrasives break down smaller and smaller, refining the finish until the surface is nearly ready for protection. Almost everything in our lineup works this way, which is why technique matters. You control the cut and the finish through your passes, not just your product choice.
A non-diminishing abrasive holds its cutting power for the life of the cycle. It does not soften as you go. That is what you want on a brutally hard surface like marine gel coat, where you need consistent bite from the first pass to the last. Heavy Cut is our only non-diminishing product.
Dual Action vs. Rotary: Which Machine?
Almost every product here lists a tool, so here is the short version. The two machines move differently, and that changes what each one is good for.
A dual action (DA) polisher spins the pad and wobbles it on a random orbit at the same time. That random motion makes it very forgiving, so it is hard to burn paint or instill new swirls with one. It is the right machine for most correction and almost all finishing work. It gives up a little cutting power for that safety, which is a fair trade on most jobs, though it does mean working harder and longer on really heavy defects. It is the machine we reach for most, and the best starting point if you are new.
A rotary polisher spins the pad in one direct circle on a fixed axis. That delivers more cutting power and speed, so it chews through heavy correction, wool pad work, and gel coat efficiently. Here is the part most people get backward: because it cuts so fast, a rotary actually puts less heat into the paint than grinding away at heavy defects with a DA does. The trade-off is that it leaves more marring and is less forgiving, so it takes a steadier hand and you follow it with a polish to refine.
Here is how we think about it. A field of heavy defects is like a field of tall weeds. You would not grab a weed whacker, the DA, to clear the whole thing. You run the mower, the rotary, to knock it all down fast, then bring the weed whacker back for the edges and the finishing. We pick a DA most of the time, but for heavy defects a rotary is the efficient call.
Classic Cut
Our workhorse compound, and the one we run roughly 90% of the time. The cut is great and it finishes out great too. It is a diminishing abrasive, so it removes moderate defects and then refines down clean as you keep working it. No fillers, silicone free, low dusting, and it holds up well in sun, warm temperatures, and humidity. If we only kept one compound on the shelf, this would be it.

Classic Cut
Our everyday workhorse compound. Great cut, great finish, no fillers.
Shop Classic Cut →How we use it: Prime a microfiber pad with an outer and inner circle of product and rub it in. Spread it over a 2 ft by 2 ft area, set your dual action to speed 5, and make 2 slow passes with moderate pressure. Clean the pad, add 4 dime size dots, and cycle the same section again with no pressure so the backing plate spins at full rotation. Wipe with a clean microfiber and follow with a polish. On a rotary, run it on a wool pad.
Classic Cut Plus
We took Classic Cut and put an upgraded abrasive in it, so it cuts more and finishes out better. That is the whole story behind the plus. If Classic Cut is a 7 on cut, Classic Cut Plus is an 8, and the finish steps up too. The reason to choose it over Classic Cut is simple: you want a faster cut and a cleaner finish, harder paint included.

Classic Cut Plus
Classic Cut with an upgraded abrasive. More cut, better finish.
Shop Classic Cut Plus →How we use it: Same method and same pads as Classic Cut, you just get more cut and a slightly cleaner finish out of it. Because it leaves minimal marring behind, your follow-up polish step goes faster. Follow with Classic Polish or Classic Finish Plus to take it the rest of the way.
Classic Polish
Our polish with a kick. It has a minor abrasive that lets it pull out heavier haze or polish harder clear coats, so it does double duty. Use it as a final polish for harder clear coats and heavier haze, or use it as a light compound on a newer vehicle. It is not ideal for super soft clear coats because it is not as fine as Classic Finish Plus, but on the right paint it is one of the most versatile bottles we make.
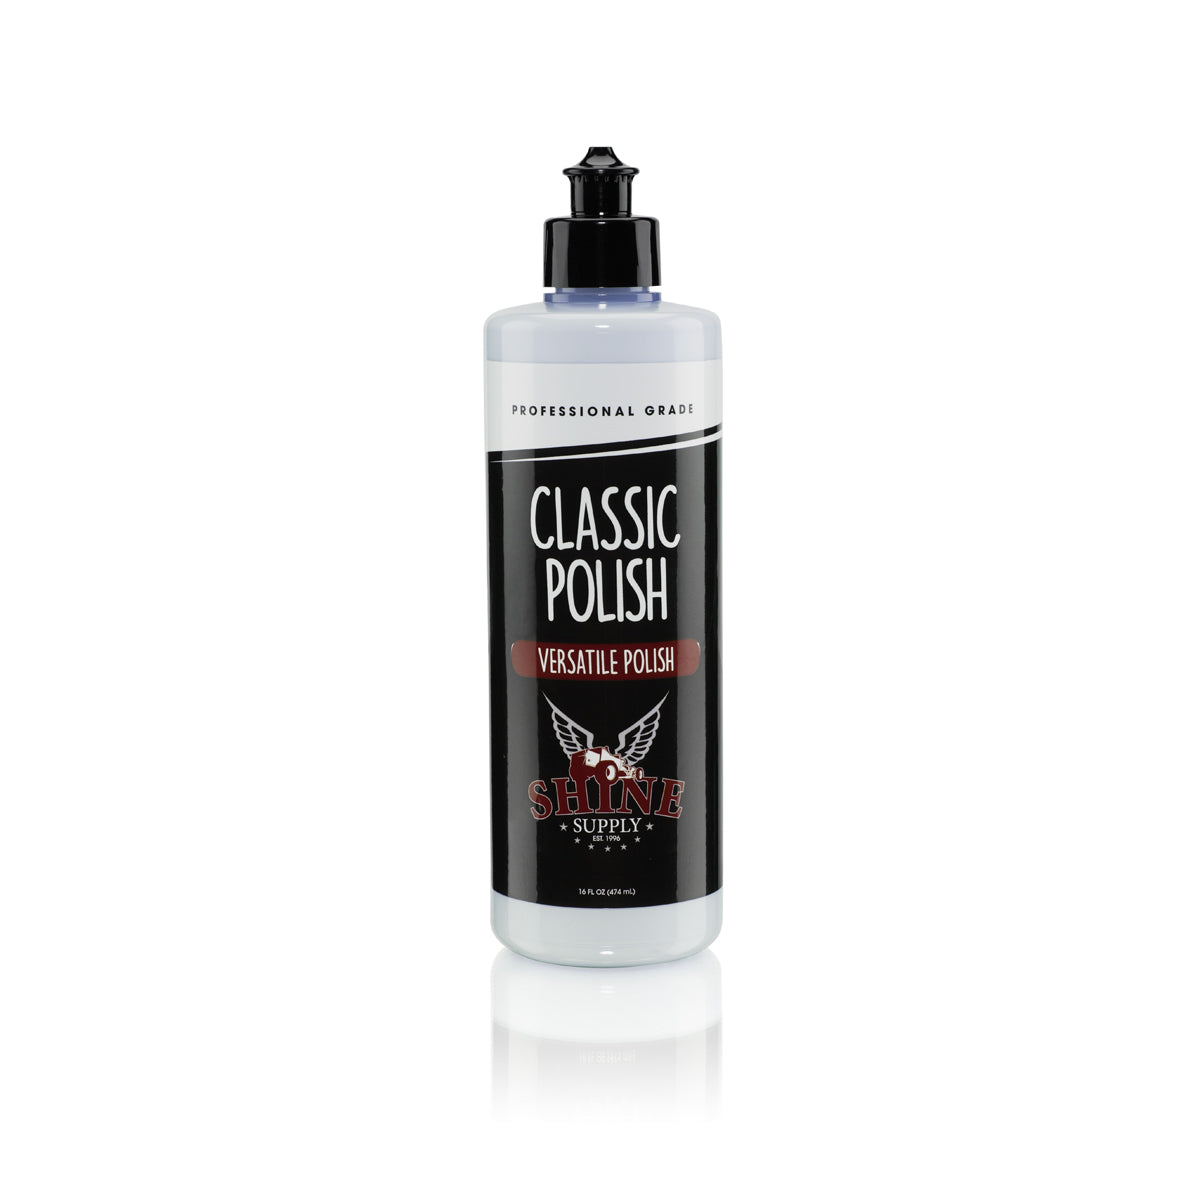
Classic Polish
Polish with a kick. Final polish on hard clear, or a light compound.
Shop Classic Polish →How we use it: As a final polish, run it on an HDO orange foam pad or a Buff & Shine EdgeGuard foam pad in the yellow medium polishing variant to clear heavier haze and bring up gloss on harder clear coats. As a light compound on a newer vehicle, we love it on a microfiber polishing pad or the Tango microfiber polishing pad to remove lighter defects, then we follow with Classic Finish Plus to perfect the finish. Keep this one on a dual action. We do not recommend it on a rotary.
Classic Finish Plus
The finest polish we offer. This is the one for soft clear coats and for polishing out minor haze. Our favorite pairing: after a correction with Classic Polish you are left with minimal haze, so we come back with Classic Finish Plus to wipe out that last bit and leave a flawless finish. Lowest cut in the lineup, highest finish.
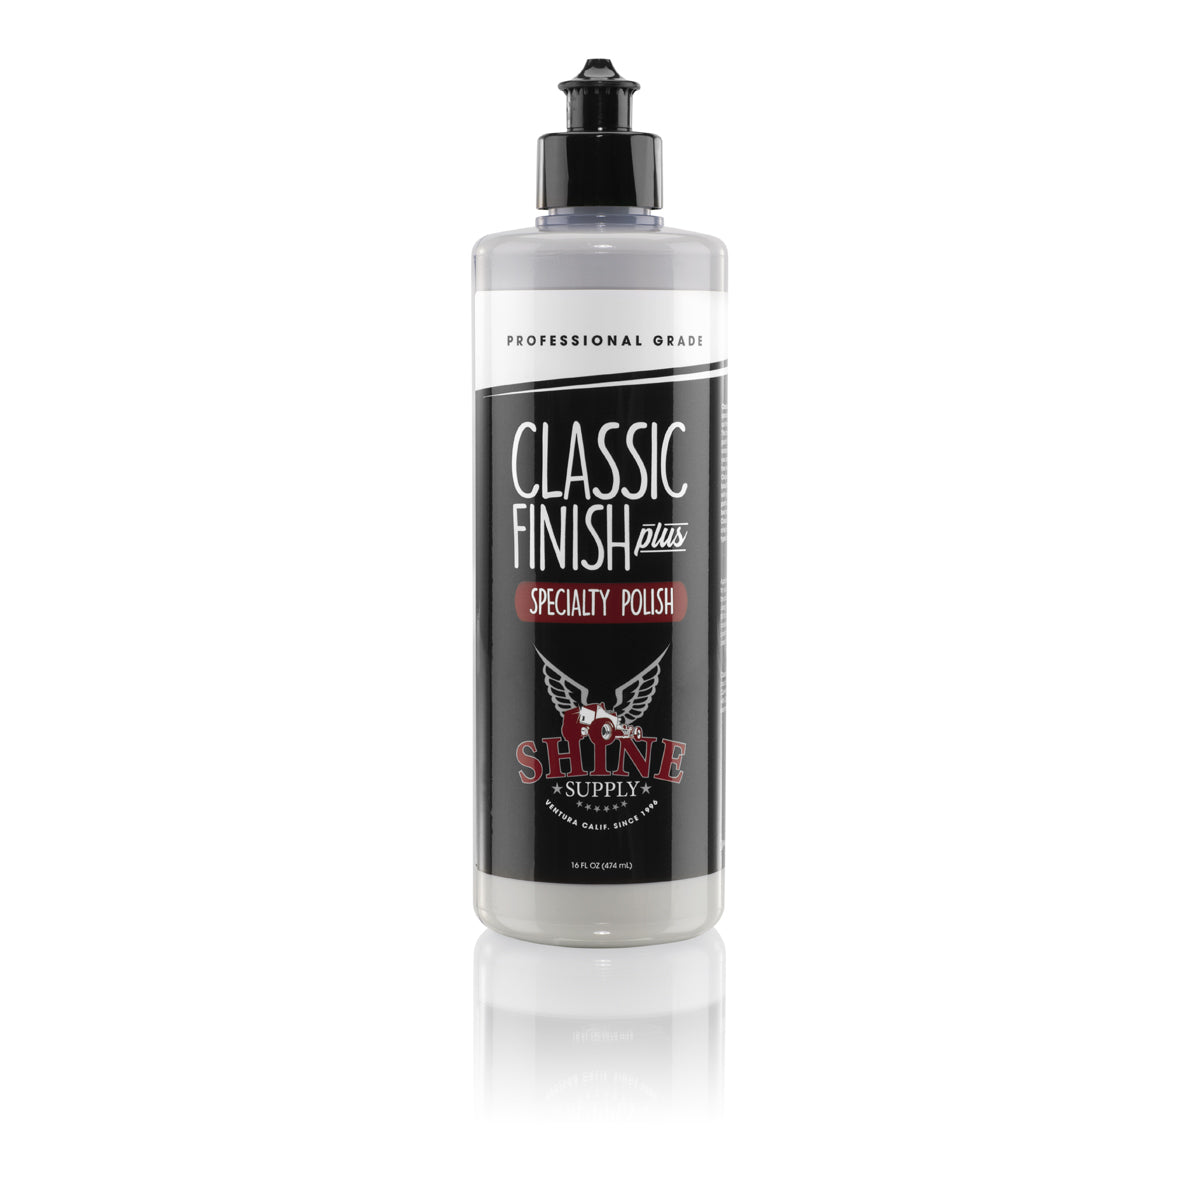
Classic Finish Plus
Our finest polish. Soft clear coats and clearing minor haze.
Shop Classic Finish Plus →How we use it: Run it on a dual action with a soft black foam pad. Set the tool to speed 3 to 4, use light arm-down pressure, and a faster arm speed. After a Classic Polish correction, this is the step that clears the leftover haze and leaves the paint ready for protection.
Heavy Cut
Our only non-diminishing abrasive compound, and it is built for gel coat. This is what we reach for to compound gel coat and pull out heavy oxidation or sand scratches. Because it does not break down, it holds its bite through the whole cycle. We mainly run it on a rotary to compound gel coat. You can use it on a dual action, but it is a little harder to work that way.

How we use it: On a rotary with the Dock Boss Heavy Cut wool pad, compound the gel coat to pull out the oxidation and scratches. Since the cut does not break down, you can keep working it without it flashing or drying out in the sun. To refine the marring and lay down protection in one step, follow it with Wake Up.
Chop Top
Our highest cutting compound. Cut is maxed out, but because it is a diminishing abrasive it still finishes out great, which is rare for something this aggressive. We reach for it two ways: on gel coat, to refine and cut after a first pass with Heavy Cut and clean up any rotary marks, and on clear coat, to remove sandpaper marks or heavy scratches.

How we use it: On gel coat, follow your Heavy Cut step with Chop Top on the Deck Hand White medium cut wool pad to refine the cut and clean up any rotary marks. On clear coat, run it on a microfiber cutting pad with a dual action to take out sandpaper marks or heavy scratches. Stick to a wool pad or a cutting pad, that is what it is built for.
Flat Top
Our hard clear coat compound. It puts down a strong, aggressive cut on tough paint, but it does not finish out very well on its own, so it always wants a polish behind it. When you are staring at a hard European clear that will not budge, this is the compound that gets through it.

How we use it: Run it on a microfiber cutting pad with a dual action on hard clear coat. Because it does not finish out on its own, always follow with a polish like Classic Polish or Classic Finish Plus to bring the gloss back up.
Burn Out
Our one-step polish. It corrects and finishes in a single step, with a great cut and a finish that holds its own. As you work it, it primes the surface with SiO2, similar to how Slick Back does, so it is perfect right before a coating or a ceramic-based sealant. Keep in mind the SiO2 is a primer, not a standalone protectant. It works great in direct sun, and the cut sits a bit under Classic Cut.

How we use it: Run it on a dual action with a Tango microfiber polishing pad or an HDO orange foam pad. It corrects, finishes, and leaves an SiO2 primed surface in one step, so it is great right before a coating or ceramic-based sealant, and it works really well for single-stage polishing. Since it works great in direct sun, it is a strong choice for outdoor and mobile jobs.
Slick Back Ceramic Polish
Our ceramic-infused polish. It is built to polish out ceramic-coated vehicles that have picked up light defects without removing the coating. Because it is ceramic based, it also primes the surface, so it does double duty as a maintenance polish and a coating-prep polish.

Slick Back Ceramic Polish
Ceramic-infused polish. Maintain coated paint or prep for coating.
Shop Slick Back →How we use it: For maintaining a coated vehicle, we run Slick Back on an orange foam pad to polish out any light imperfections in the coating, then follow with Relock. That is how we maintain the ceramic coatings that come through the shop, usually once a year. To prep before a fresh coating, use it on an orange foam pad to polish out moderate haze. Because it primes the surface, you skip the heavy IPA wipe down. Just do a very light wipe to make sure all the polish residue is off, then go straight to coating.
Wake Up
Our polish and protect for gel coat. Wake Up is a ceramic-fortified, one-step polish for gel coat with light to medium oxidation. It will not pull out heavy oxidation, but it cleans up oxidation, removes stubborn water spots, and leaves a very nice finish thanks to the diminishing abrasive. The best part is that it doubles as a wax, laying down ceramic-based protection as you polish.

How we use it: We love it right after Heavy Cut. Once we have cut the gel coat, we come back with Wake Up to refine the marring from the Heavy Cut step and lay down protection, all in one pass. We run it on the Correcting Marine Foam Pad from Lake Country. It cleans up light to medium oxidation, knocks out stubborn water spots, and leaves a UV-resistant, ceramic-fortified finish.
Pro Tips for Every Compound and Polish
- Slow your arm down. On most of these, slow passes with controlled pressure do the work. Fast passes cut less, not more.
- Work small sections. A 2 ft by 2 ft area keeps the product cycling correctly instead of drying out before you finish the panel.
- Let diminishing abrasives finish. The product turning almost clear is your sign the abrasives are fully broken down and the pass is done.
- Match the pad to the job. Microfiber and wool add cut, foam refines. Cutting pads for compounds, polishing and finishing foam for polishes.
- Keep your pad clean. Blow it out or clean it between sets. A loaded pad cuts unevenly and can micro-marr the finish.
- Cut, then refine. The most aggressive compounds like Flat Top and Chop Top want a polish behind them for true show-car clarity.
Why a System Beats a Single Bottle
There is no one product that does everything well. A compound built to shred oxidation off gel coat is the wrong tool for finishing soft GM black, and a polish that leaves a flawless finish will not touch heavy sand scratches. That is the whole point of a lineup. Each product is tuned for a job, so you can cut exactly as hard as the defect requires and finish exactly as fine as the paint deserves.
Everything on this page gets used at Stevens Detailing before it ever hits the shelf. The pad recommendations, the dot counts, the speeds and the pairings all come from real correction work on real cars and boats. Learn where each one fits and your results get more consistent, your jobs get faster, and you stop guessing.
The Order of Operations
Here is how it all comes together. This is the full sequence a correction follows in the shop, with every product in its place.
Build Your Correction Kit
Cut, polish, finish. Pick the products that match the work in front of you and pair them the way we do in the shop.
Shop Compounds & PolishesFrequently Asked Questions
Do any of these contain fillers?
No. None of our compounds or polishes contain any fillers. There are no oils or silicones hiding defects that wash away later, so the finish you see is the real corrected result.
What is the difference between a compound and a polish?
A compound is built primarily to cut, removing scratches and defects. A polish is built to refine, clearing haze and bringing up gloss. A few of ours blur the line, but as a rule you compound to correct and polish to finish.
How do I know if my paint is soft or hard?
Paint hardness varies by manufacturer and even by panel. Soft paints (many GM blacks, some Japanese clears) scratch easily and finish quickly, so they want gentler products and softer foam. Hard paints (Mercedes, Audi, some European clears) resist correction and need more cut, which is exactly what Flat Top and Classic Cut Plus were built for. When in doubt, start with a test spot in your least aggressive combination and step up only as needed.
Which compound should I start with?
For most jobs, Classic Cut. It is our workhorse and handles the large majority of correction work with a great cut and a clean finish. Step up to Classic Cut Plus when the paint is harder or the defects are heavier, and only reach for Chop Top or Flat Top when you are dealing with the worst scratches or the hardest clear coats.
Can I use these on a rotary or only a dual action?
It depends on the product. Classic Cut, Classic Cut Plus, and Chop Top run on either a rotary or a dual action, and Heavy Cut is mainly a rotary product for gel coat. Classic Polish, Classic Finish Plus, Flat Top, Burn Out, and Slick Back should all be kept on a dual action. Wake Up can go on a dual action or by hand. Check the At a Glance box on each product above.