Skip to content

Cart

Your cart is empty

Article: How to Clean and Condition Leather Seats

How to Clean and Condition Leather Seats

INTRODUCTION

Leather is one of the most abused surfaces in a vehicle, and most people get it wrong from the start. They either over clean it, over condition it, or skip steps entirely. That is how you end up with dry, cracked, or prematurely worn seats.

The right process is simple. Clean it when it is dirty. Condition it when it actually needs it. Do not overdo either one.

If you are trying to keep leather looking good long term, it is not about using more product. It is about using the right product, the right way, at the right time. Done correctly, leather stays soft, natural, and holds up for years without looking greasy or worn out.

Why Conditioning Leather Matters

Leather needs to be conditioned to stay soft, flexible, and healthy over time. Without it, the material starts to dry out, which leads to stiffness, fading, and eventually cracking.

What a lot of people don’t realize is that leather is constantly being exposed to heat, UV, and body oils. All of that slowly pulls moisture out of the material. Once that happens, the leather loses its natural feel and starts to break down.

Conditioning puts that moisture back in and keeps the leather from drying out. It also helps maintain that soft, natural finish instead of letting it turn hard or brittle.

This is not something you need to do every week, but if it were my vehicle, I would condition the seats a few times a year to keep them in good shape long term.

Why Cleaning Leather Propelry Matters

Cleaning leather the right way is just as important as conditioning it. If the surface is not properly cleaned, nothing you apply afterward is going to work the way it should.

Leather builds up body oils, dirt, and grime over time, even if it looks clean. That buildup blocks conditioners from absorbing, so instead of feeding the leather, you are just putting product on top of contamination. That leads to uneven results and shorter durability.

Using the wrong cleaner makes things worse. Harsh chemicals or all-purpose cleaners can strip the dye out of the leather, leaving it faded or blotchy. Some products can also stain the surface or leave behind residue that changes the appearance of the seat. Once that damage is done, it usually cannot be reversed.

The safest approach is to use a dedicated, pH-balanced leather cleaner. It removes dirt and oils without damaging the material or affecting the color.

If the leather is dirty, clean it first. Done correctly, you are not just making it look better, you are setting it up to last.


What Properly Cleaned and Conditioned Leather Should Look Like

Done correctly, leather should look natural, not shiny or greasy.

After cleaning, the surface should feel clean and dry, not slick or oily. After conditioning, it should feel soft and slightly enriched, but not wet or heavy.

If the seats look overly glossy, feel slippery, or leave residue on your hands, too much product was used or the process was done incorrectly.

The goal is simple. Clean, soft, and factory-looking leather that holds up over time.

How to Clean and Condition Leather Properly

Now that you understand why this matters, here’s the right way to do it. This is a simple process, but doing it correctly makes a big difference in how the leather looks and holds up over time.

If you’re more of a visual learner, check out this video to see exactly how to clean and condition your seats step by step.

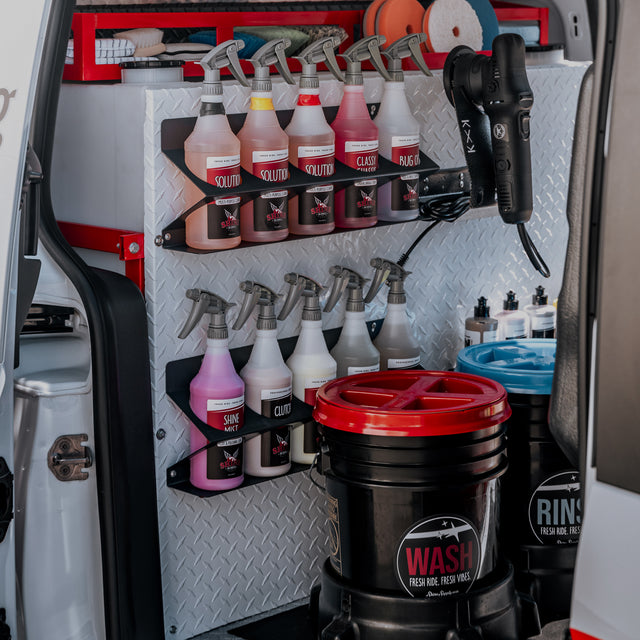
Step 1: Vacuum the seats thoroughly, making sure to remove all loose debris from seams, cracks, and crevices.

Step 2: Spray Leather & Interior Cleaner into your brush, not directly onto the seat. Gently agitate the leather using light pressure and controlled movements to clean the surface and work into the grain.

Step 3: Wipe the area clean with a microfiber towel, removing all cleaner and lifted dirt from the surface.

Step 4: Inspect the leather. If any grime or buildup remains, repeat the cleaning process as needed.

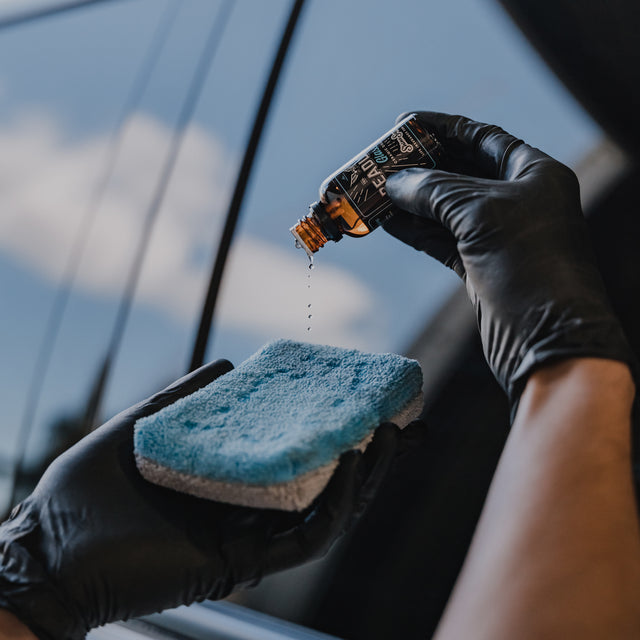
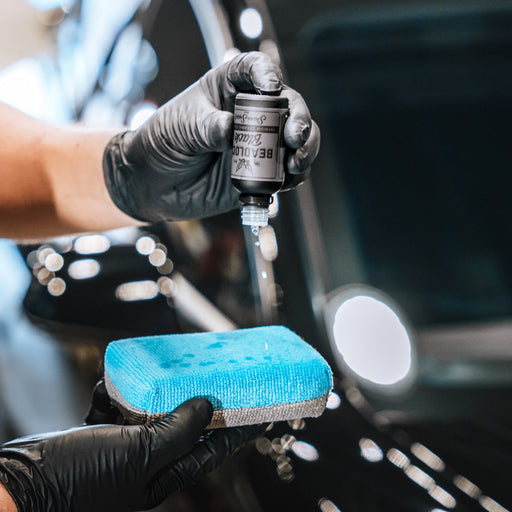
Step 5: Once the seat is clean and fully dry, apply Leather Conditioner to an applicator pad.

Step 6: If you have perforated seats, work the conditioner into your applicator pad first so it is evenly absorbed. This prevents excess product from being pushed into the perforations.

Step 7: Apply Leather Conditioner using light, even passes. Start with non-perforated areas, then move to perforated sections to maintain control and avoid overloading the holes.

Step 8: Allow the conditioner to absorb for a few minutes, then lightly wipe the surface with a clean microfiber towel to level any excess and ensure an even finish.

Step 9: Do a final inspection to make sure the finish is even, with no missed spots or heavy areas.

Step 10: Repeat the process on the remaining seats.


Common Mistakes To Avoid

Using too much product. More is not better here. Over-applying cleaner or conditioner can lead to uneven results and a greasy finish.

Skipping the cleaning step. Conditioning dirty leather traps grime and prevents proper absorption.

Using the wrong cleaner. Harsh chemicals or all-purpose cleaners can strip dye or stain the leather permanently. Always use a product like Leather & Interior Cleaner.

Getting conditioner into perforations. If you have perforated seats, always work the product into your applicator pad before applying. This keeps you from pushing excess product into the holes and creating buildup.

Not leveling the conditioner. Leaving excess product on the surface will cause blotchiness and an unnatural look.

Rushing the process. Taking your time, especially during cleaning, is what gives you the best results.

Maintenance Tips

Leather does not need to be cleaned and conditioned every week.

Clean it when it is visibly dirty or starting to feel oily. Use Leather Conditioner every few months, depending on how often the vehicle is used.

High-contact areas like driver seats and armrests will need attention more often than the rest of the interior.

Staying consistent with light maintenance is what keeps leather looking new long term.

Final Thoughts

If it were my vehicle, I would focus on keeping the process simple and consistent. Clean it when needed, condition it a few times a year, and avoid overusing products.

Done correctly, leather should look natural, feel soft, and wear evenly over time. Not shiny, not greasy, and not overworked.

A little bit of proper care goes a long way in keeping your interior looking the way it should.

All of the products used in this guide are available at ShineSupply.com. If you have any questions or need help choosing the right products for your setup, our team is always happy to help. You can call and talk to a real person at 805-535-4332 or email us anytime at info@shinesupply.com.

Read more

How to clay bar  your vehicle!

How to clay bar your vehicle!

In this blog we will go over everything you need to know when it comes to clay baring your vehicle. If you run your hand across your paint and feel it is rough, even though it is clean, that is a p...

Read more
How to ceramic coat your glass

How to ceramic coat your glass

Driving in rainy conditions can be quite the hassle, especially if your glass does not have any protection which can inhibit your vision when driving. Protecting your glass will virtually eliminate...

Read more